Calibrating the SW1
Ensure that the SW1 is level prior to calibrating.
Calibration Rod Configurations
The SW1 has come with three different calibration rods. Each can be configured as two calibration objects.
Foldable Rod
Calibration Object #1: The rod is folded.
Calibration Object #2: The rod is unfolded.

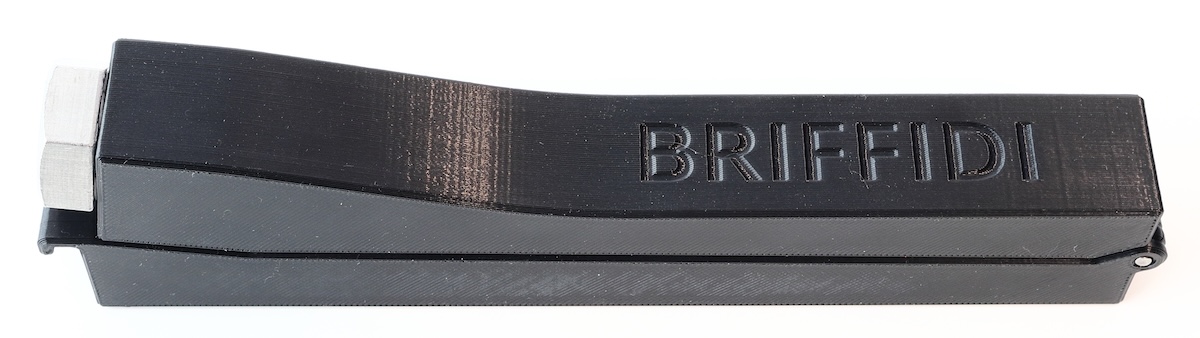
Extendable Rod
To extend or retract the extendable calibration rod, twist the octagonal weight counterclockwise to unlock and clockwise to lock. There are four internal sections to unlock/lock. For greatest accuracy, let the rod hang vertically when locking the rod in the extended position.
Calibration Object #1: The rod is fully-retracted.
Calibration Object #2: The rod is fully-extended to reach a length of 74 cm or 29".

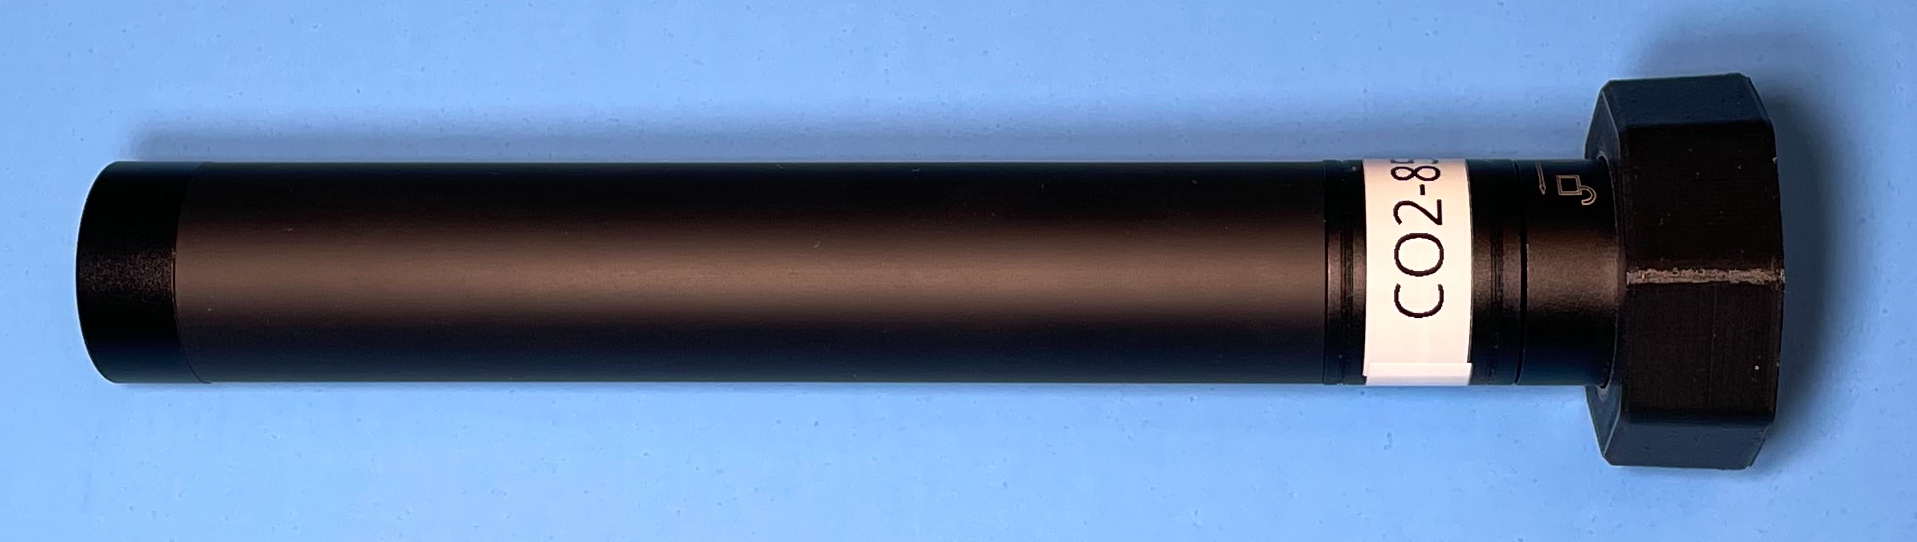
Rod with Removable Weight
The calibration rod included with early SW1s was a PVC pipe with removable weight. The end of the pipe nearest the label goes against the back wall of the cradle. If the calibration weight has an “UP” indicator, orient it appropriately.
Calibration Object #1: The weight is installed fully onto the end of the rod.

Calibration Object #2: The weight is removed.

Calibrating
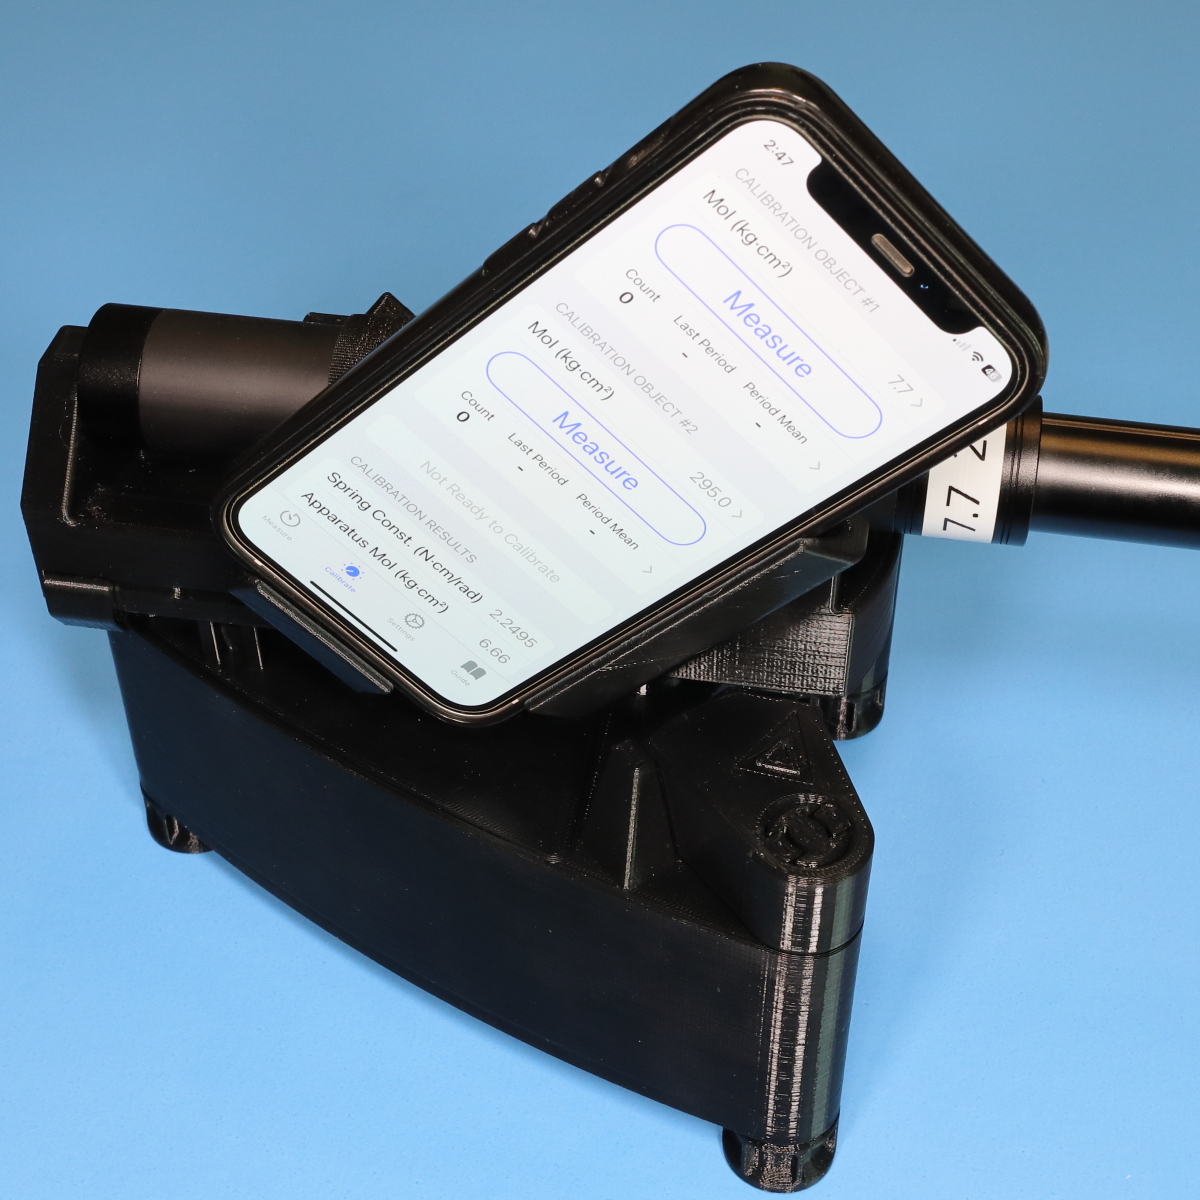
To calibrate, measure the calibration rod in both configurations using the Measure button in the associated section on the Calibrate page. Then, tap the Calibrate button. The calibration result below the button will update. If the calibration results are abnormal, the value(s) will be highlighted in red. Follow the suggestions below the results and try calibrating again.
Tip: Only one measurement of each object is required, but I recommend at least two of each.
Tip: For the extendable calibration rod, measure the extended rod (Calibration Object #2) first. You can more easily switch from the extended to the retracted configuration without removing it from the SW1.
To take a calibration measurement:
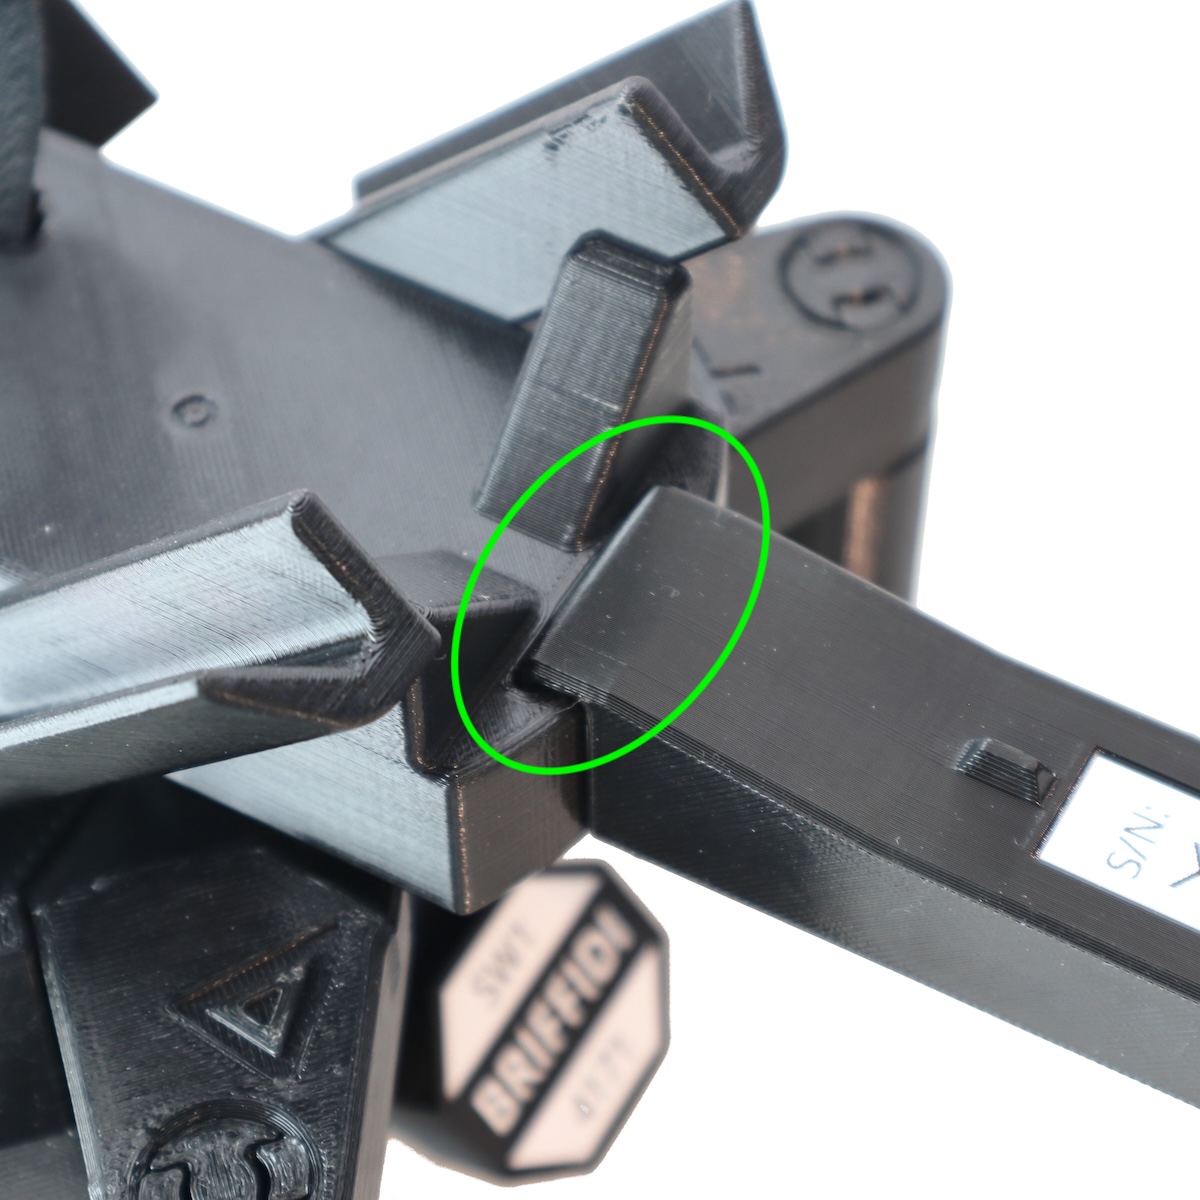
- Mount the calibration rod in the cradle of the SW1.
The foldable rod hooks into a pocket at the front of the cradle.
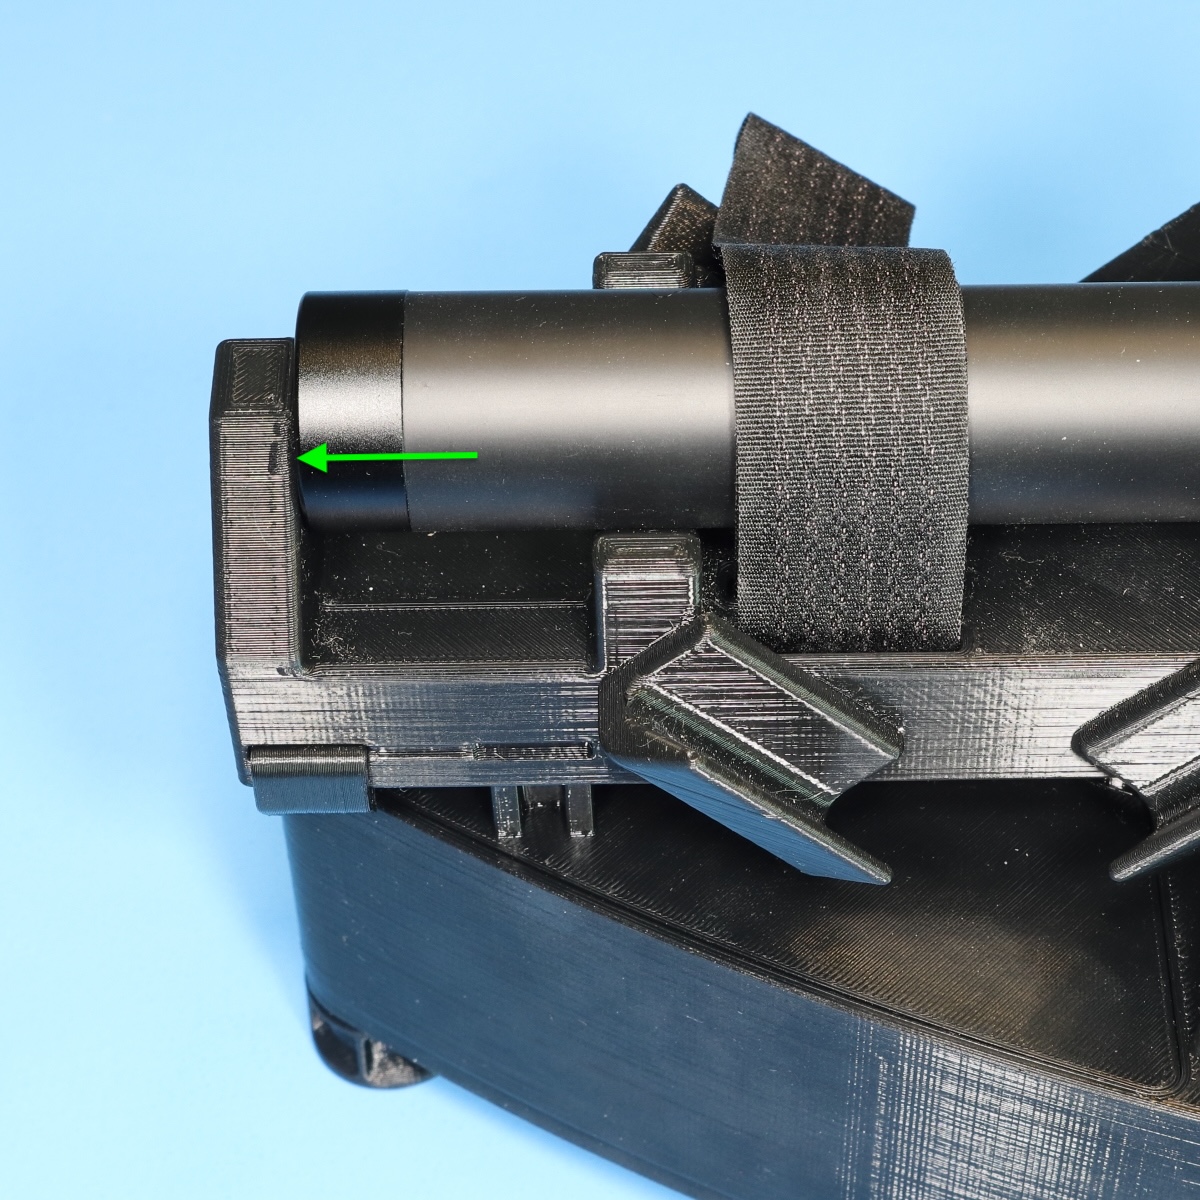
The other rods mount into the cradle, against the rear wall, and are secured with the strap.
 \
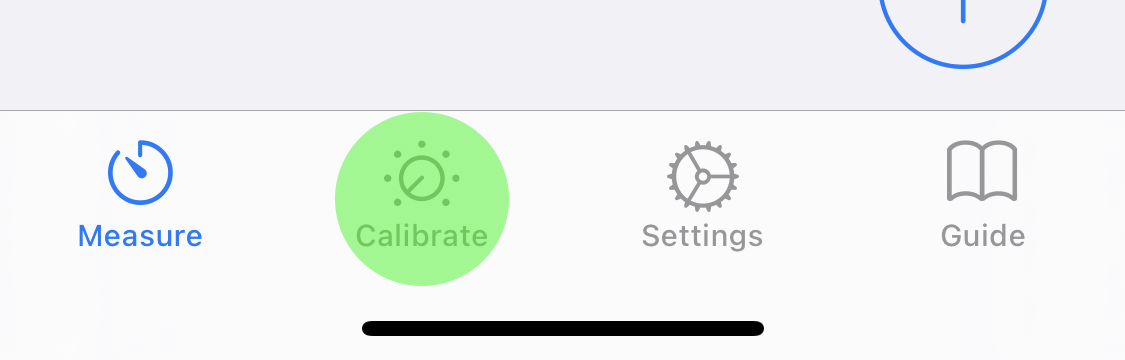
\ - Navigate to the Calibrate page.
- Place the phone in the cradle. Ensure that it is upright, fully seated, and secure.
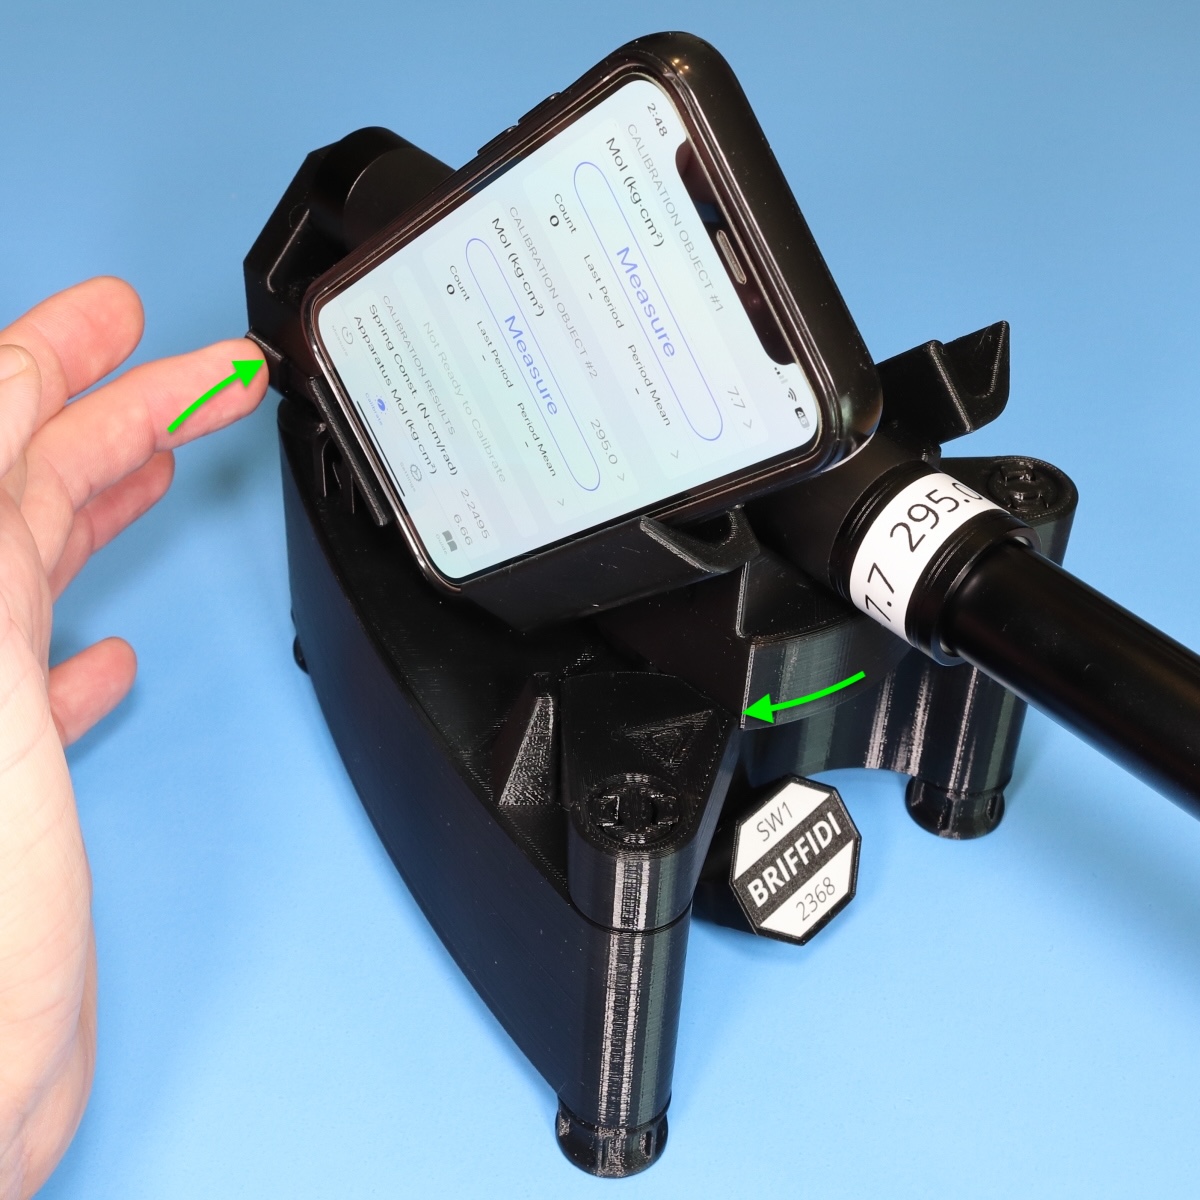
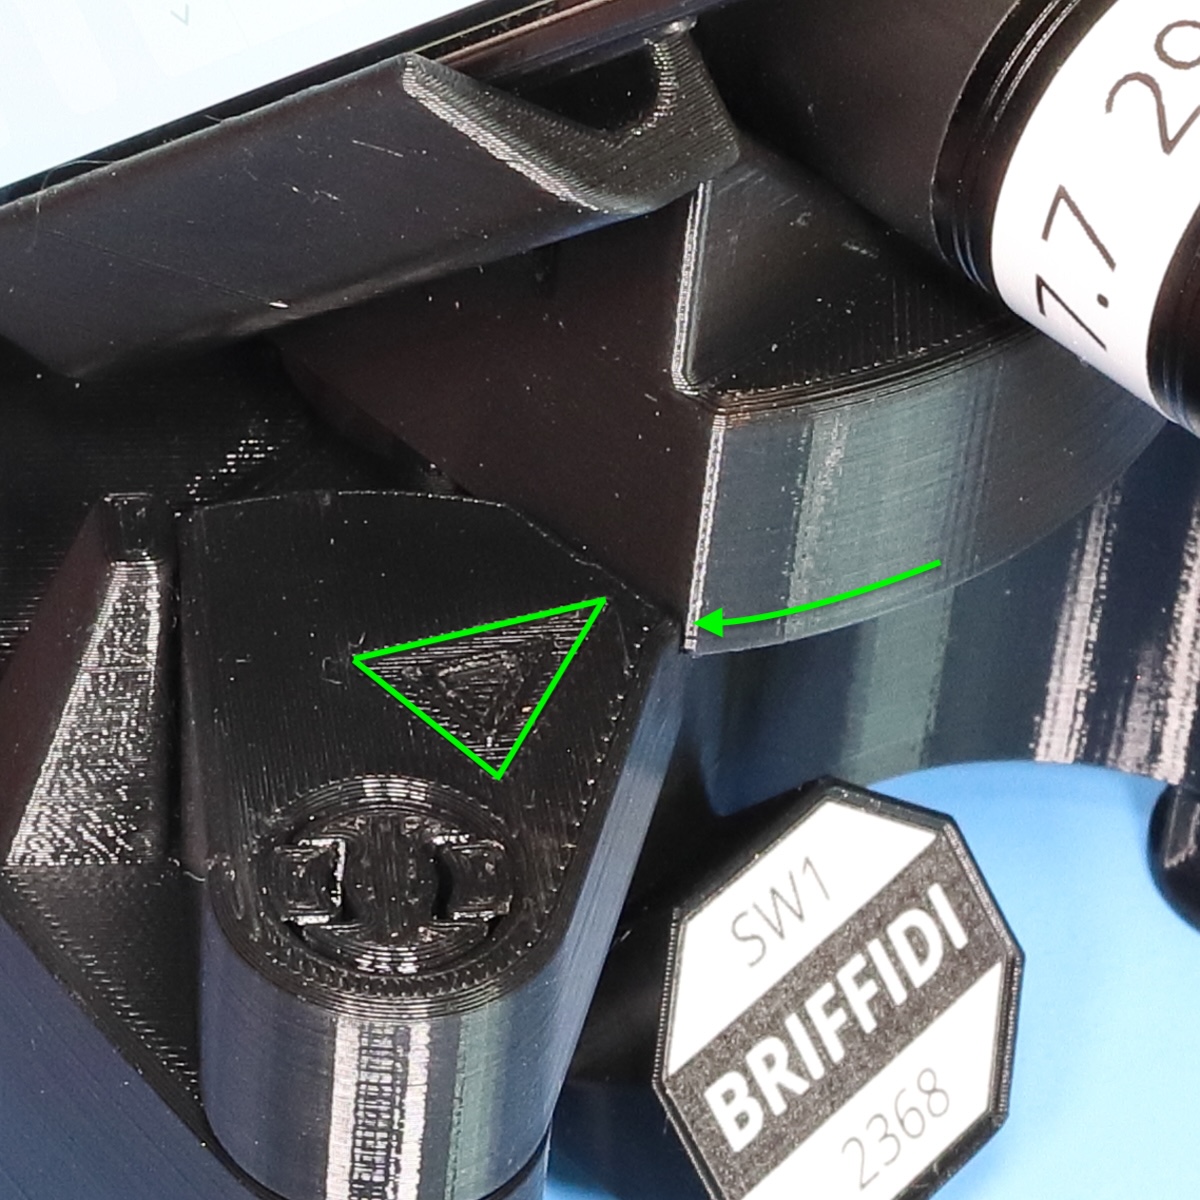
- Press and hold the cradle against the spring stop that has an indicating arrow.
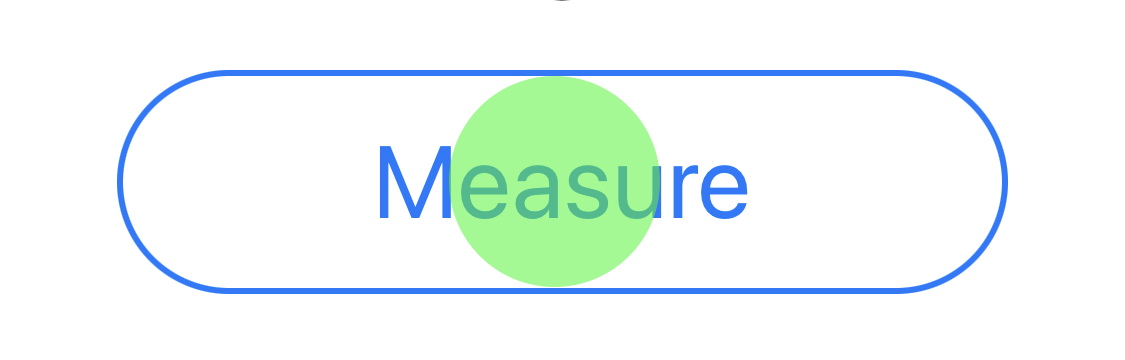
- Tap the Measure button in the appropriate section.
- Release the cradle to record a measurement.
- When Stop appears in the button, stop the cradle.


Validating
- Navigate to the Measure page.
- Take a measurement of the “heavier” calibration object and verify that the measurement result matches the label on the rod to within 1.0 kg·cm². If the discrepancy is larger than 1.0 kg·cm², review the Measurement Accuracy page and try calibrating again.

Calibration is Complete
You’re now ready to measure.
Back⏎