
For common support issues, check below for SW1, BP1, or the original Twistweight Adapter. You may also reference the SW1 User Guide here or in the app. If you need additional help, please contact me at support@briffidi.com.
SW1 Common Issues
Calibration
SW1 is a spring-driven pendulum, and the app precisely measures the period of oscillation (time required for one cycle). The square of the period of oscillation is proportional to the moment of inertia of the pendulum, so by knowing the period of oscillation of two known objects, the moment of inertia of any other object (a racquet or paddle) can be determined from its period of oscillation. The two configurations of the calibration rod are these two known objects, and the calibration process “tells” the app how quickly these objects oscillate. After calibration, measurements should match the label values within 1.0 kg·cm² (or better, with practice).
Tare Button
Be aware of the Tare button. If you tap this by mistake, the measurement results will be skewed. When active, the button is filled in and shows the value being subtracted from measurements. The tare function is used with the twistweight and pickleball adapters.
Pickleball Adapter
If you’re using a pickleball adapter, make sure that you calibrate without the adapter. The calibration values are valid for the unadapted, 10 cm, measurement position. After calibration is complete, mount the adapter and tare it out before measuring a paddle.
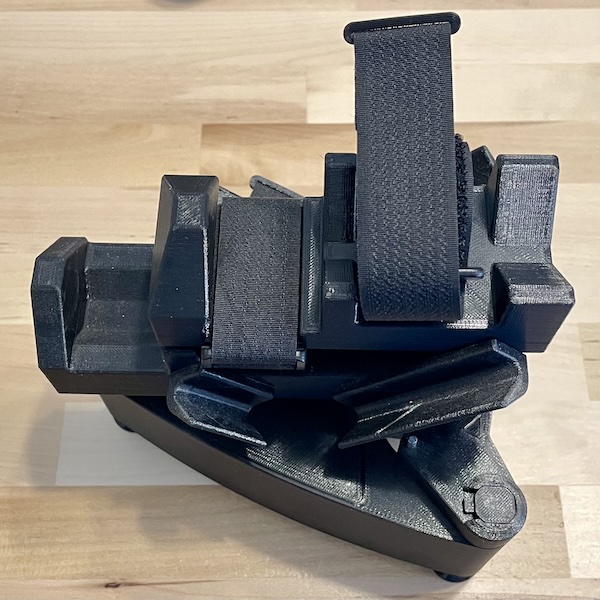
If you’re using an early 5 cm pickleball adapter, and your measurements are lower than expected, make sure that the adapter is installed into the SW1 cradle properly. The tabs on the bottom of the adapter should fit between the front and rear supports of the cradle. The adapter should be unable to slide in the cradle. Current adapters have features to prevent improper installation.
BP1 Common Issues
Unstable Scale Readings
A couple of customers have reported unstable scale readings when using the BP1. In one case, this was resolved after replacing the batteries in the scale. In the another case, I believe the culprit was static electricity. The BP1 has a fairly large surface that is in close proximity to the underlying surface. If these surfaces are electrostatically charged, the attractive or repulsive force can be large enough to affect the scale readings. This will generally show as a reading that drifts slowly over time, presumably as the static charge dissipates. A charge buildup is more likely to occur in a dry environment, such as when heating your home. You can dissipate the charges by running a damp cloth between the BP1 and the underlying surface and scale.
Truncated Values in the BP1 App
The inputs in the BP1 app for the Racquet and Loaded BP1 weight can become truncated, making them impossible to read, if the system text size setting is too large. I will attempt to make even larger text display properly in the next version of the app, but in the meantime, you can reduce the text size or disable features such as “Display Zoom” while using the BP1 app.
Twistweight Adapter Common Issues (original design, before November, 2023)
When oscillating a racket, the handle wobbles, or measurements vary a lot with small adjustments to the centering of the racquet. If the racquet is secure in the TWA, these issues both indicate that the racquet is not centered. Start by lining up the racquet with the center indicator of the TWA centered between the two center main strings, but you may need to tweak it slightly. When centered, the measurement will be at a minimum, and it will increase slightly as you move the racquet in either direction. I see this issue with one of my racquets, and it appears that the drill registration is slightly off. Note the location of the center dot relative to the strings of the top racquet in the photo below.
