Getting Started
Gather these Things
-
An Apple iPhone 7 or later.
-
Approximately 4,000 (1.35 kg) 4.5 mm (.177 cal) steel BBs.
Fill the SW1 with BBs
- Remove the cradle stop.
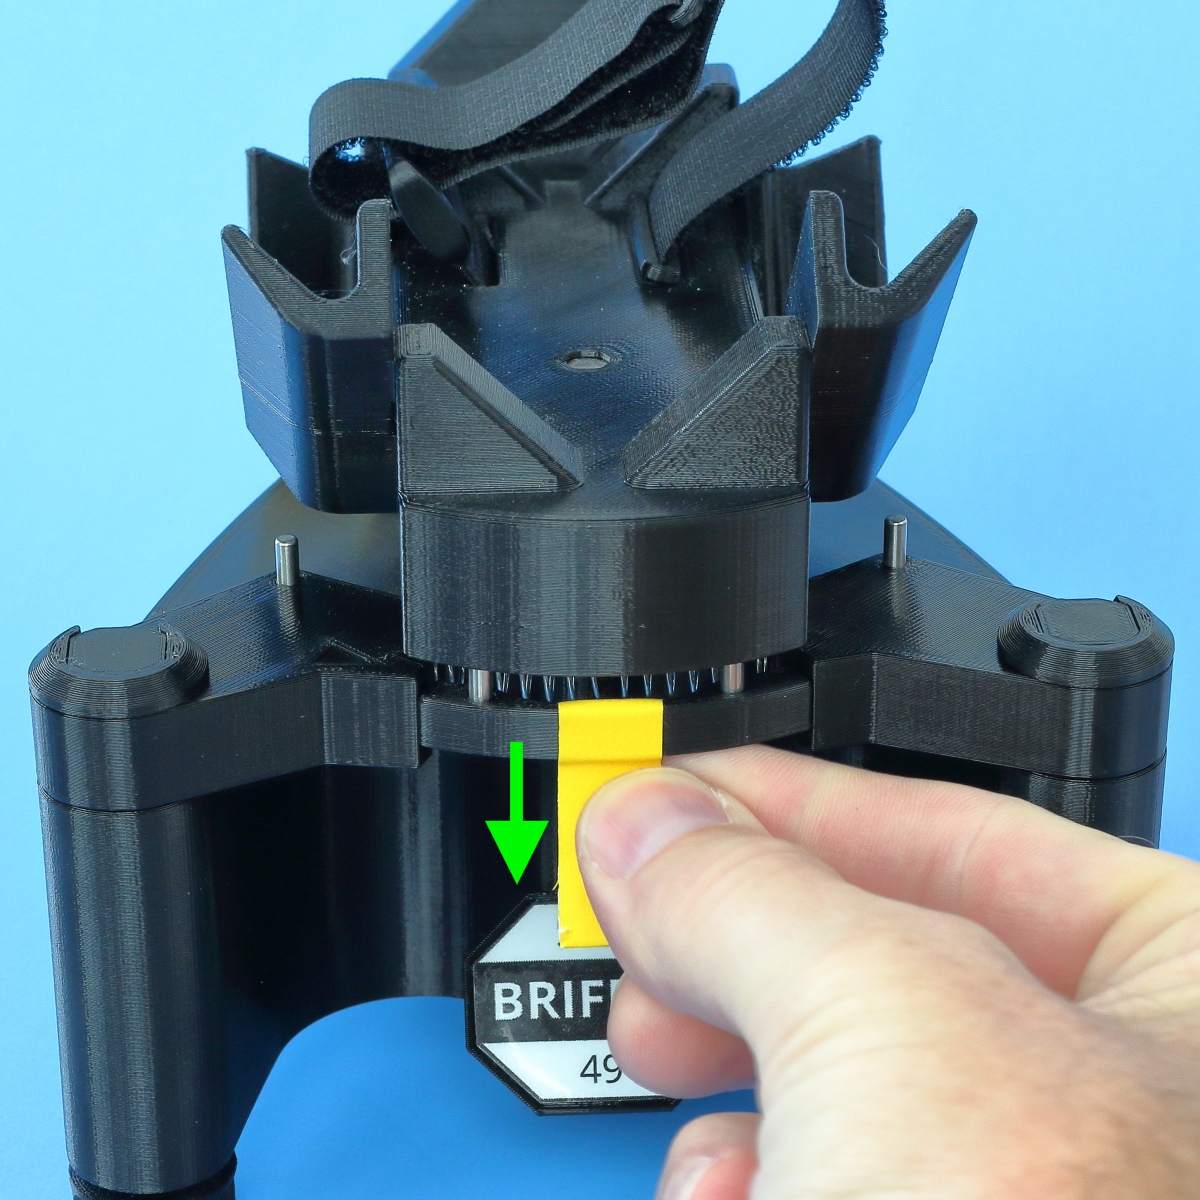
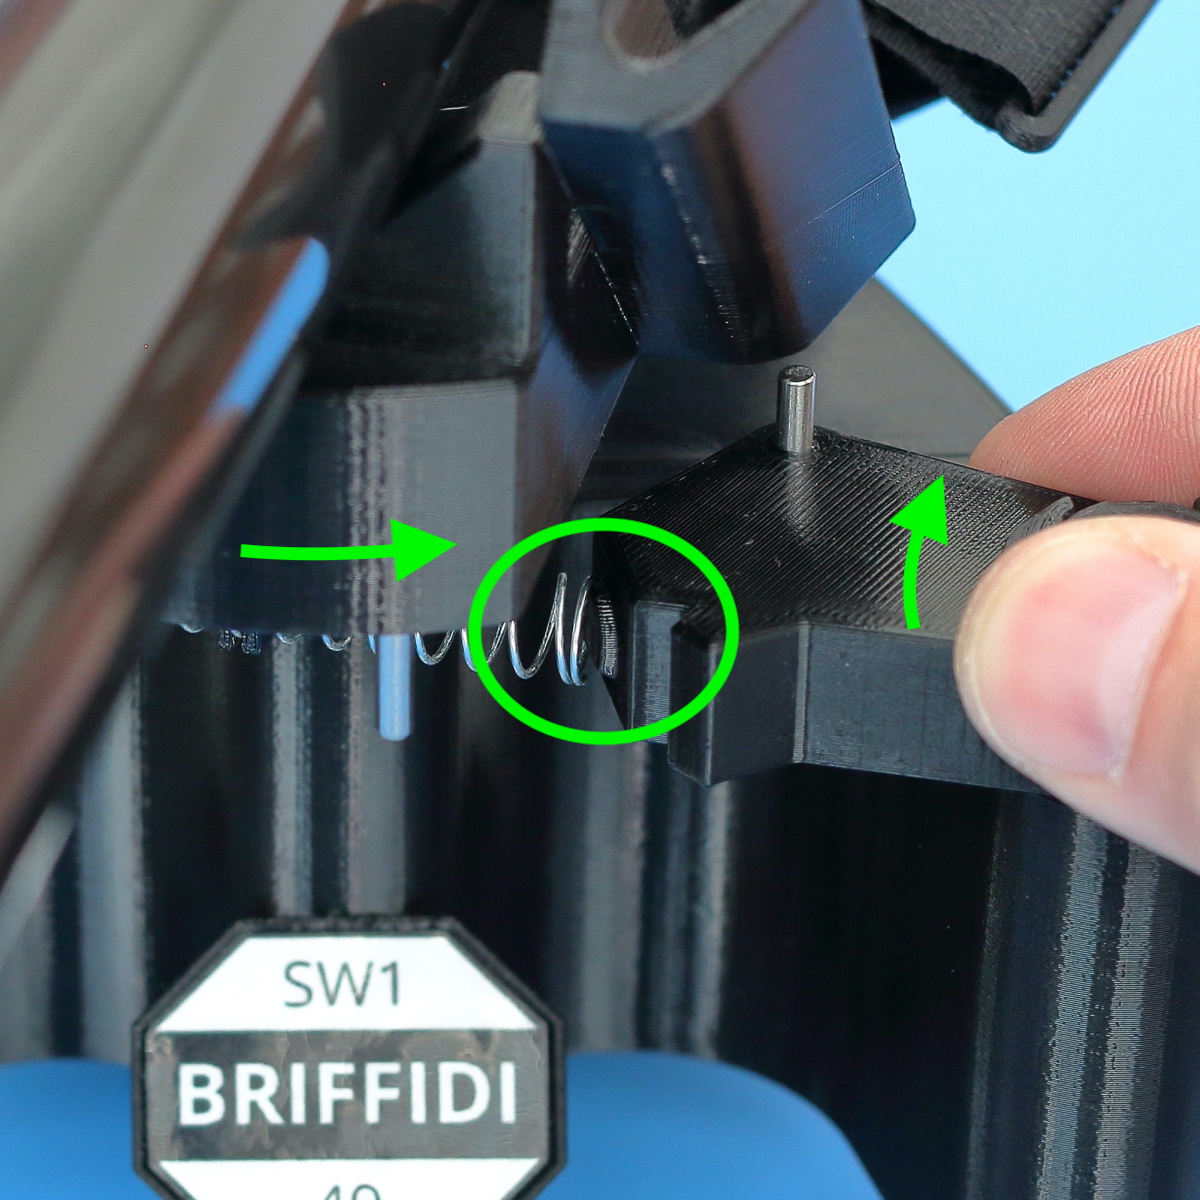
- Disengage the spring and rotate the spring stops out.
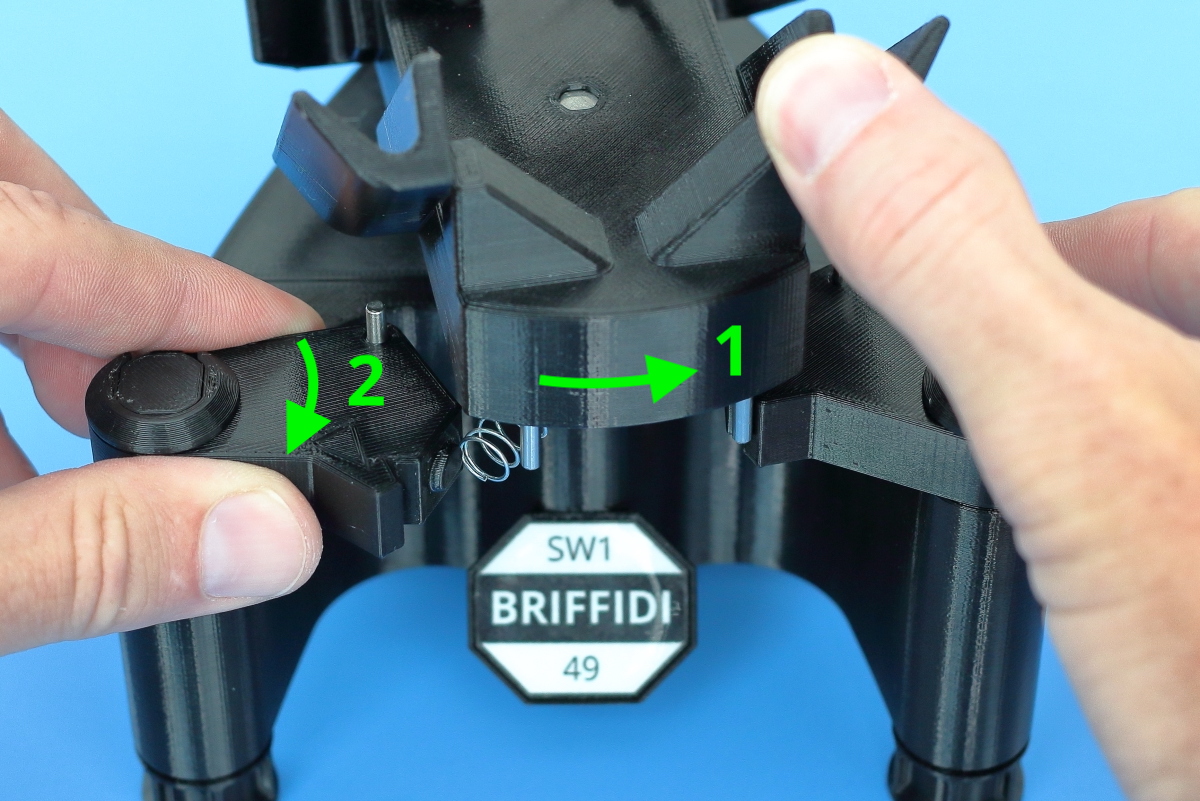
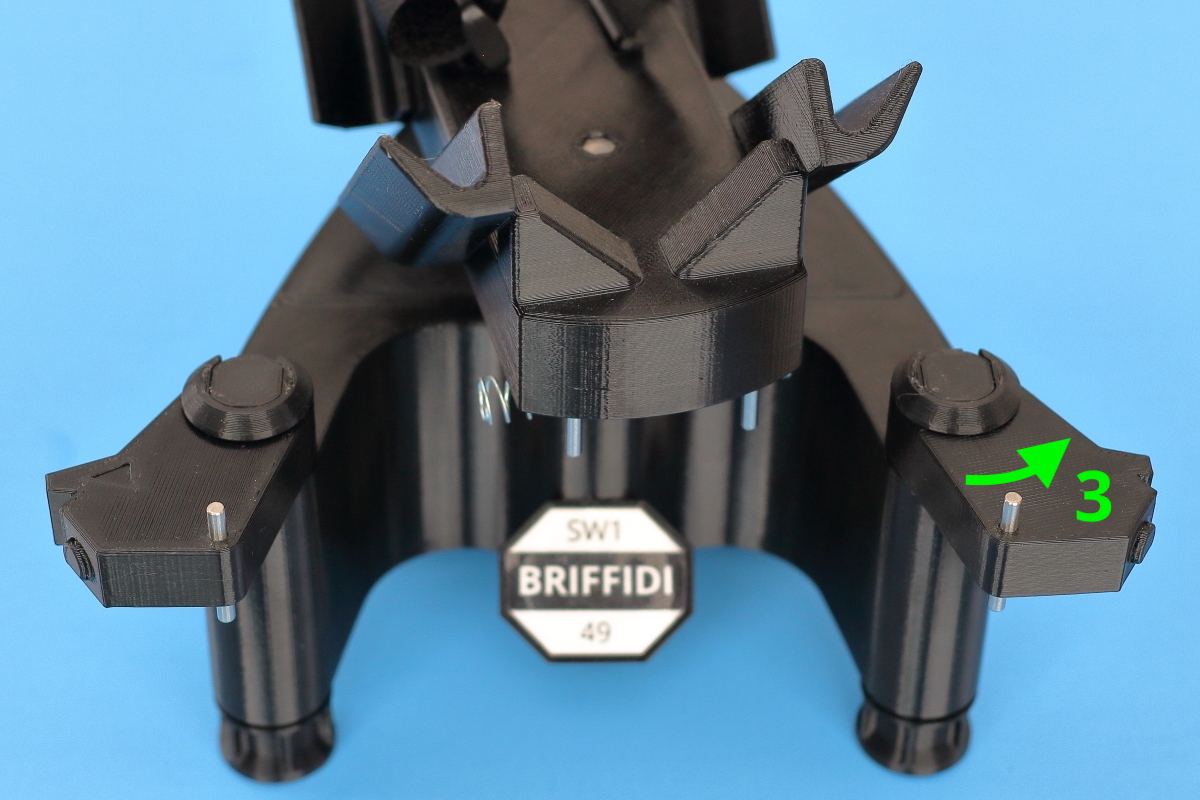
- Remove the cradle support piece.
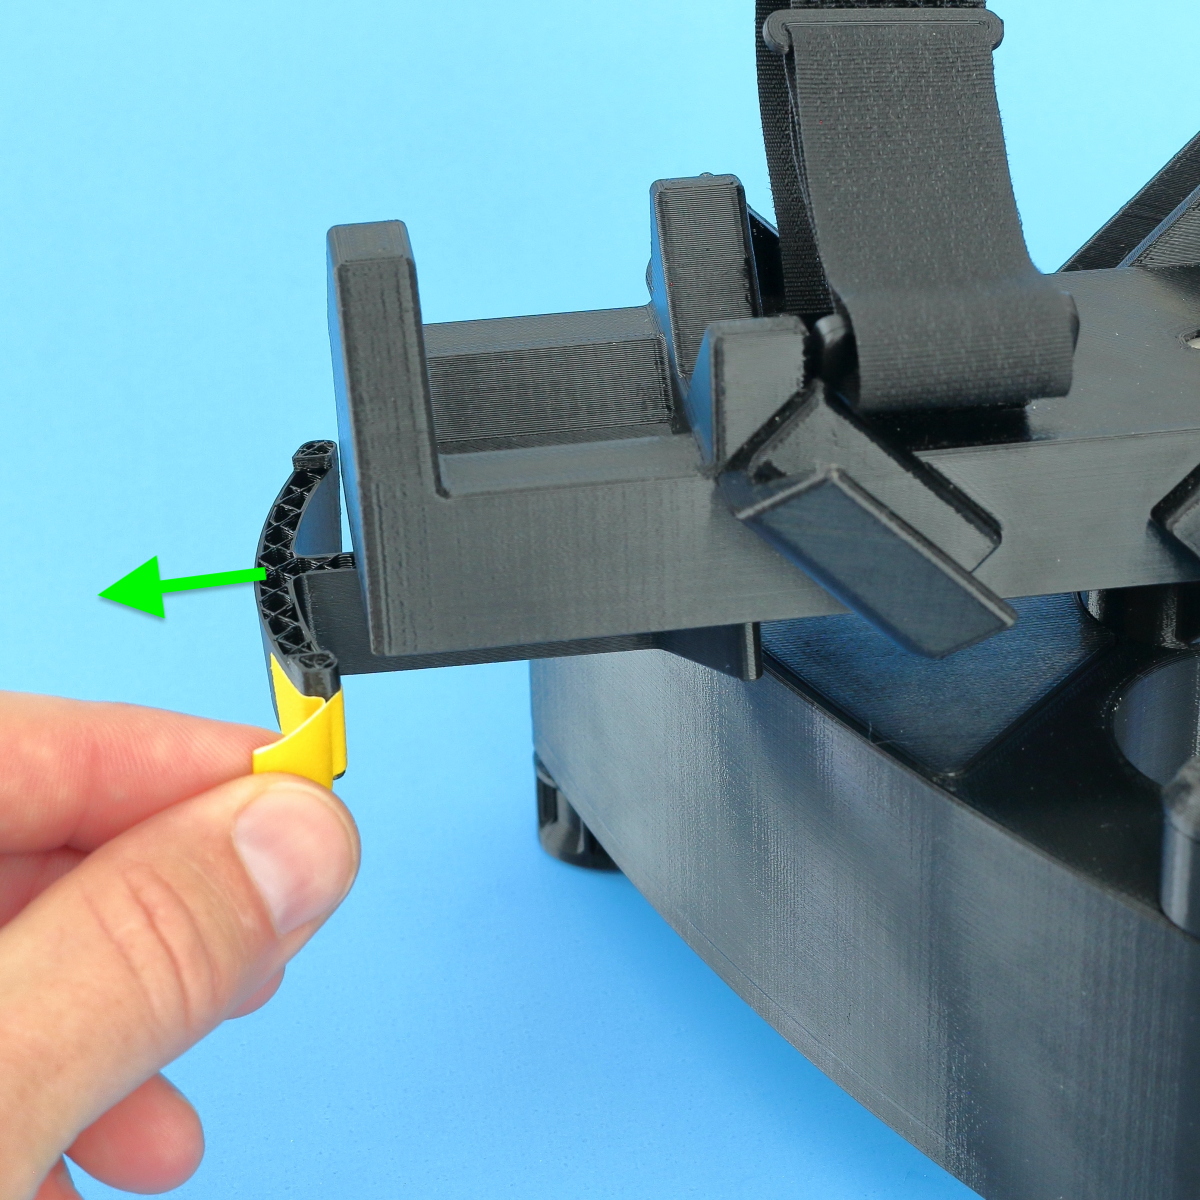
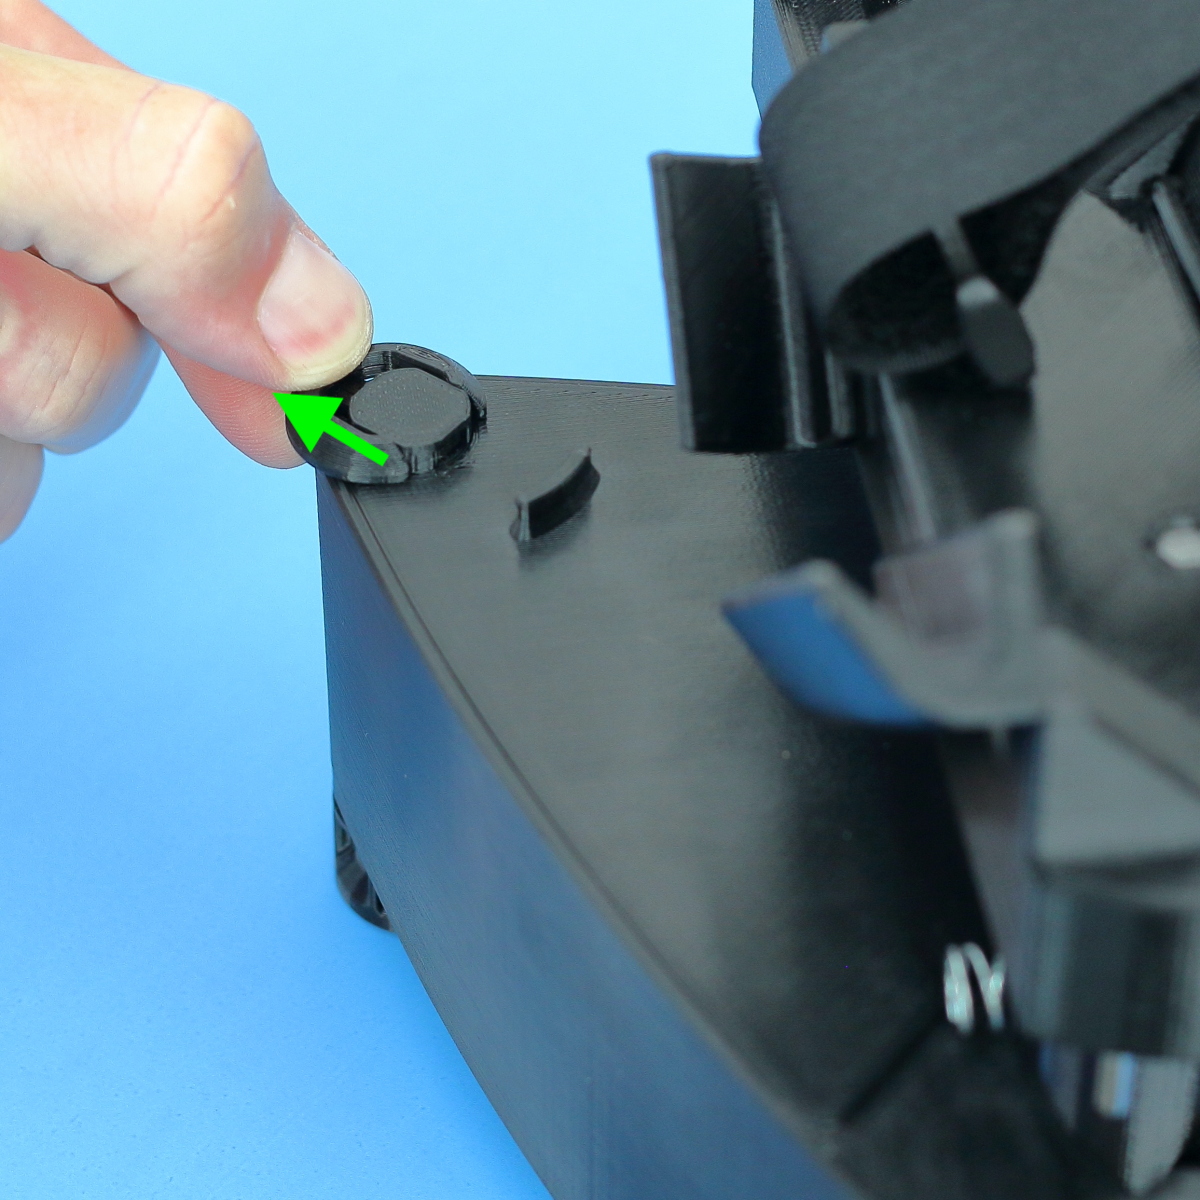
- Remove the retention clip at the back of the SW1 and remove the cover.
- Fill the cavity with BBs to just below the level of the internal ribs.

- Replace the cover and reinstall the retention clip.
Level the SW1
- Place the SW1 where you intend to use it.
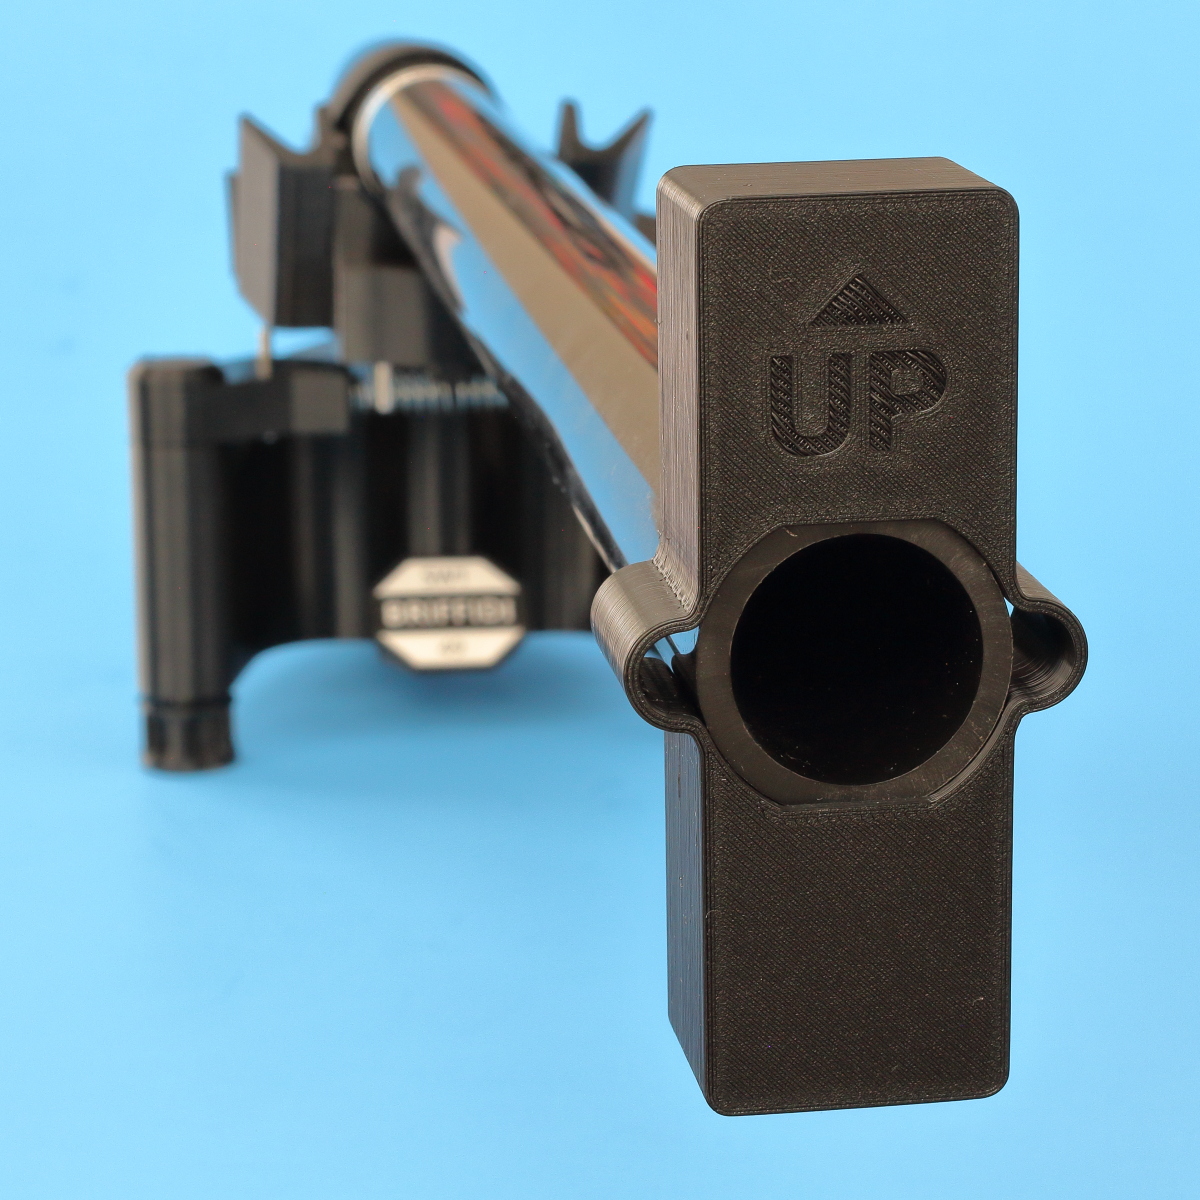
- Mount the calibration object with the label end in the cradle.

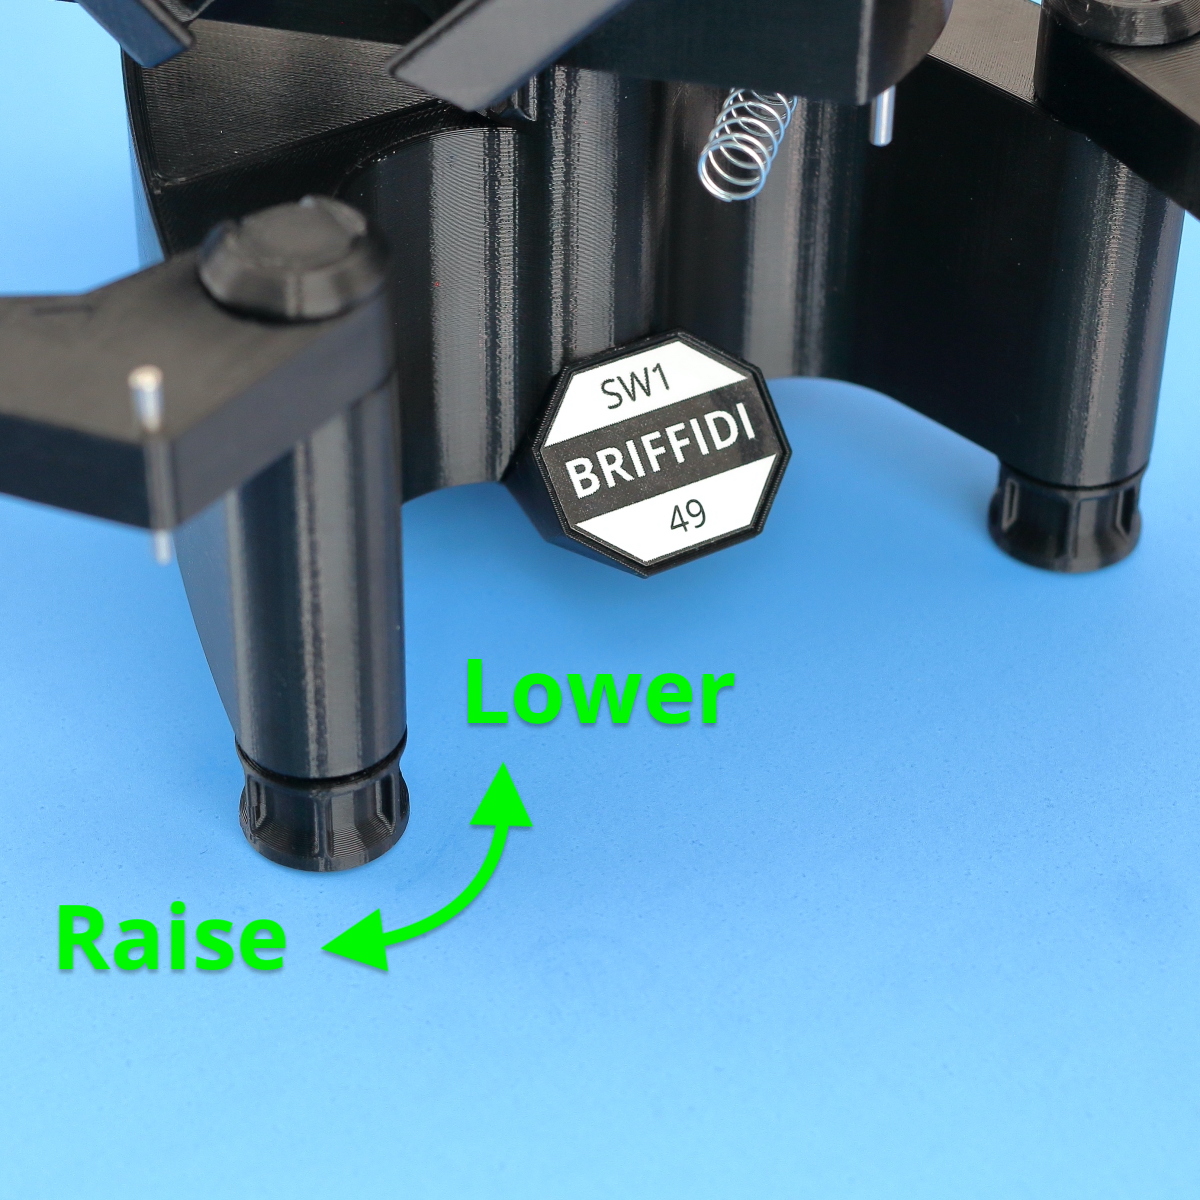
- Adjust the three leveling feet until the cradle stays nearly stationary when released from any position. How?
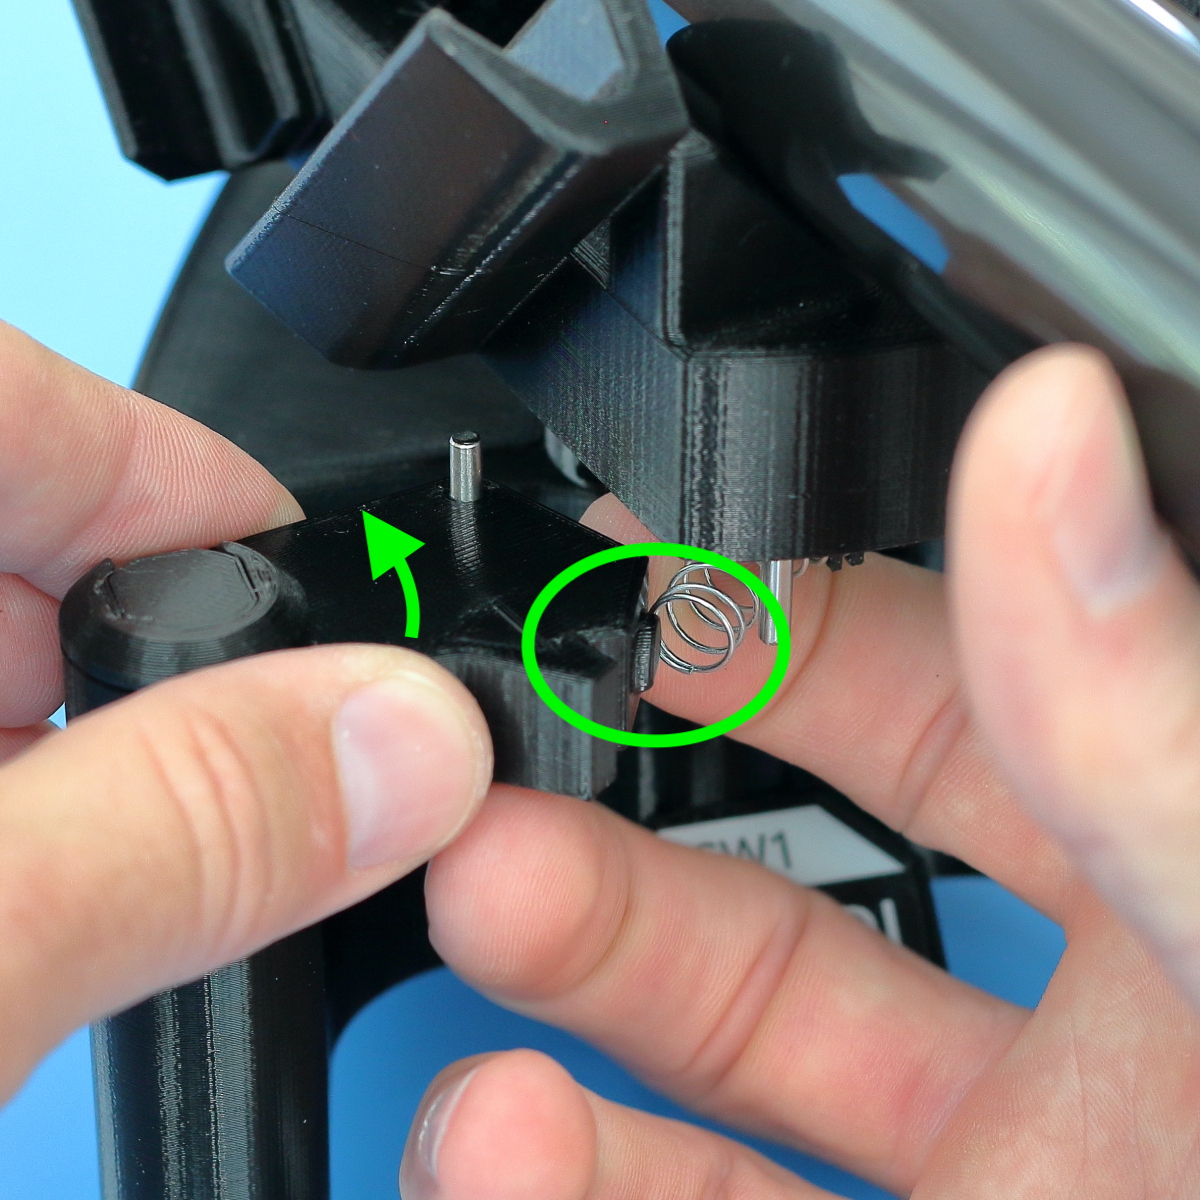
- Re-engage the spring with the raised feature on each spring stop.
- Wait two minutes before measuring. Why?
Get the App
If necessary, install the Briffidi SW1 app from the Apple App Store.
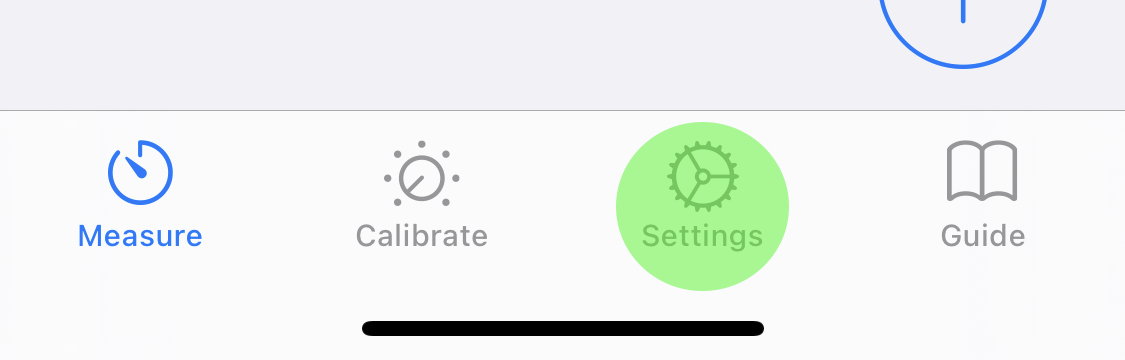
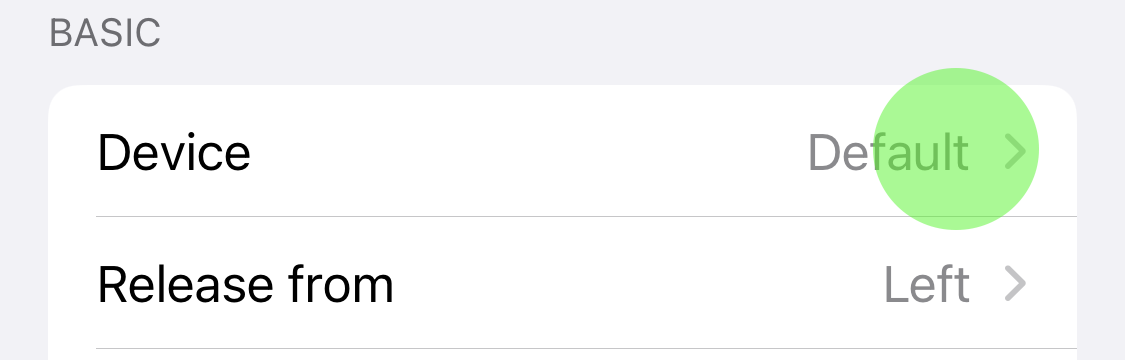
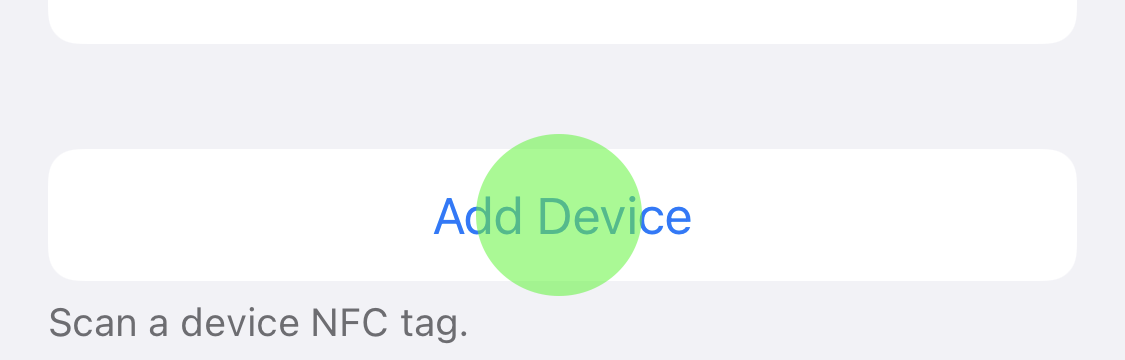
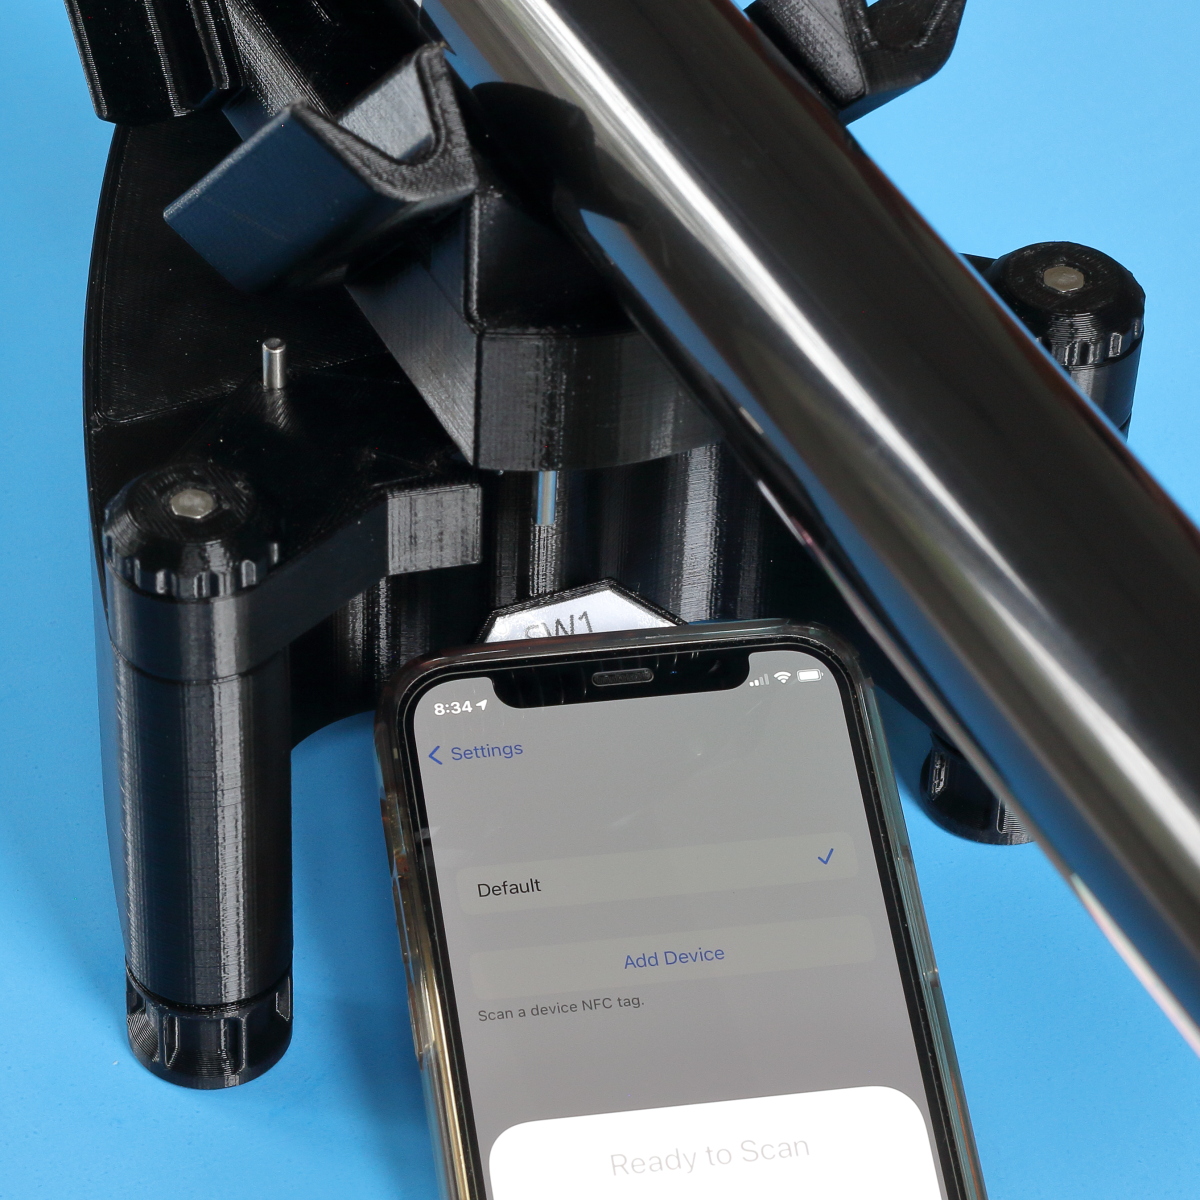
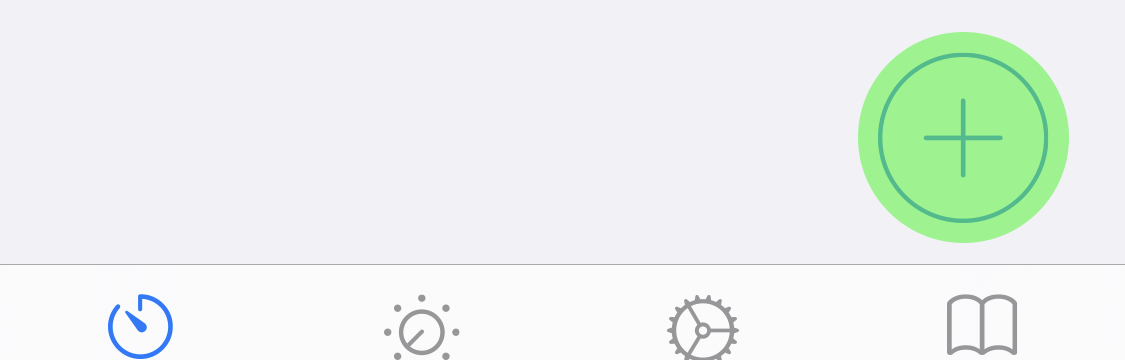
Add the Device to the App
- Open the app.

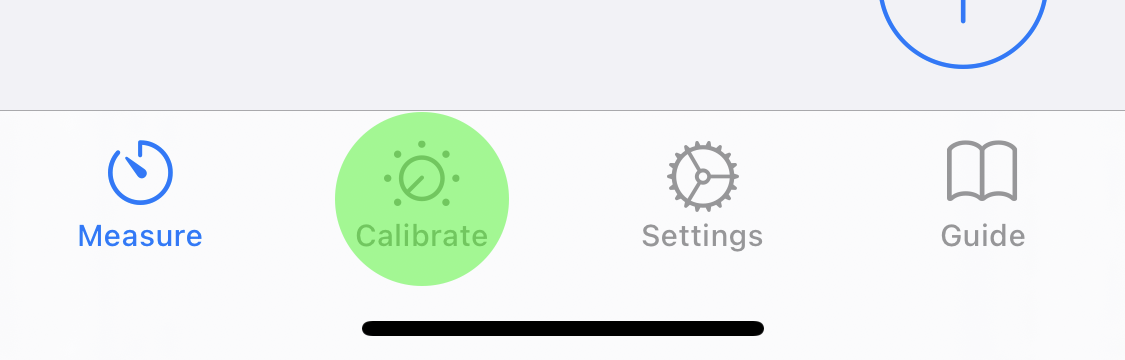
- Navigate to the Settings page.
- Tap the Device selector.
- Tap the Add Device button.
- Place the top of the iPhone near the decal on the front of the SW1.
- Dismiss the confirmation.


Calibrate
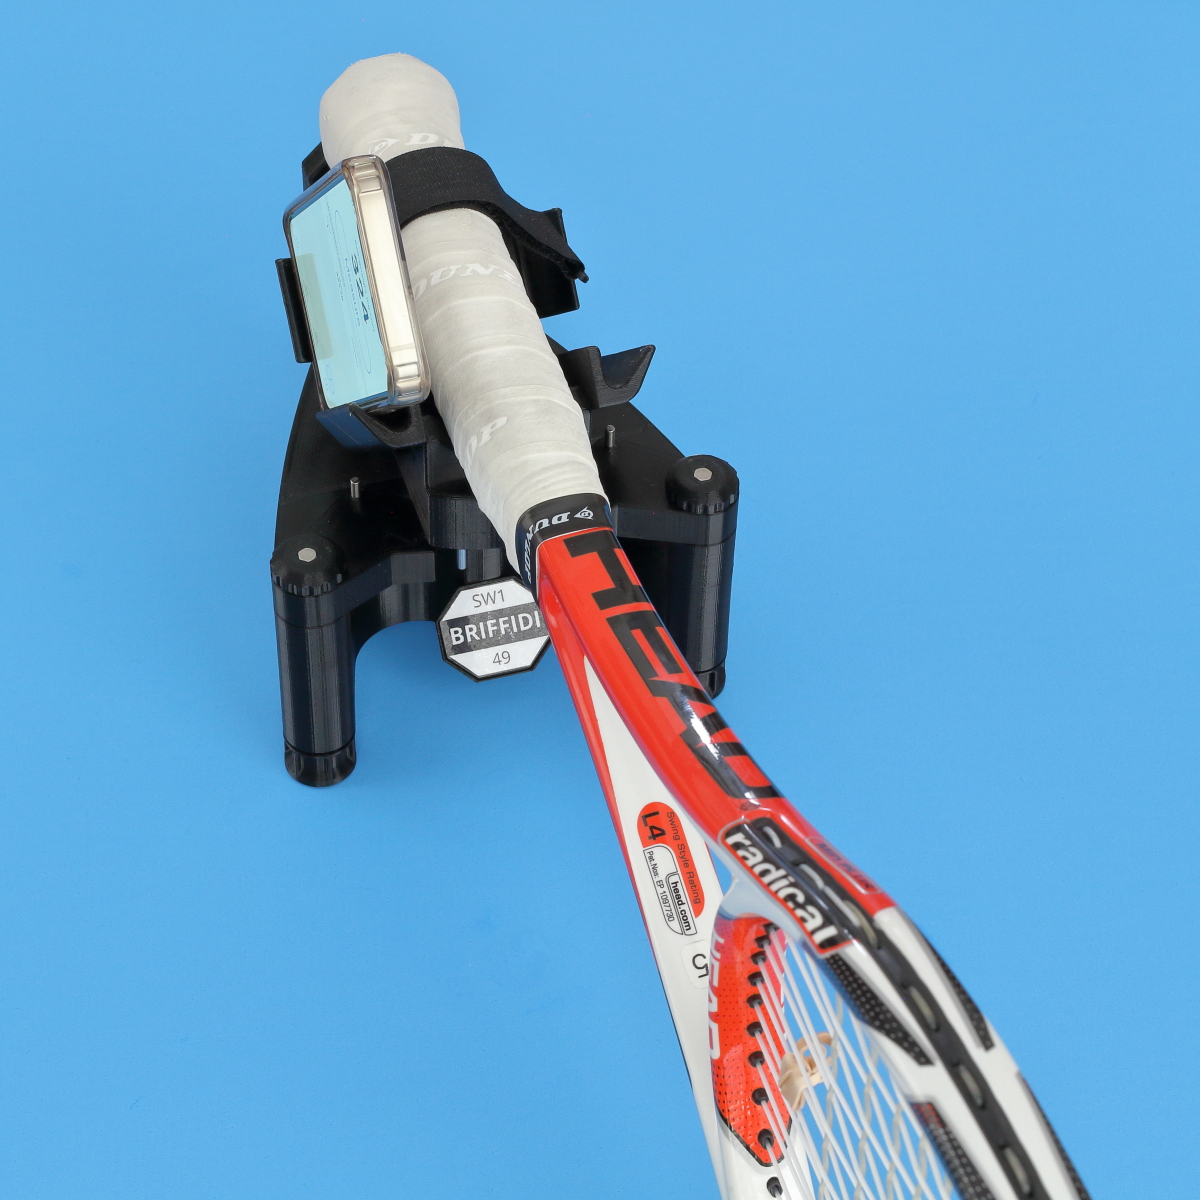
- If necessary, mount the calibration object in the cradle with the label end tight against the back wall.
If you have the original calibration weight, orient it with the up indicator pointing up. The newer, hexagon-shaped calibration weight is not sensitive to orientation.
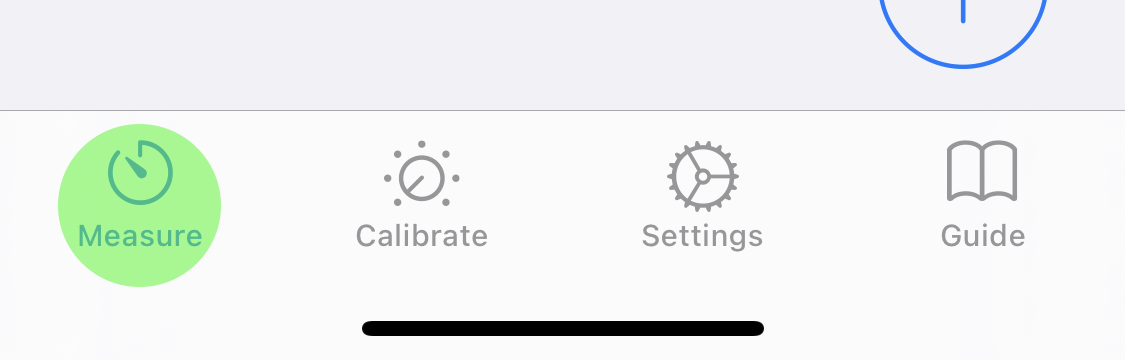
- Navigate to the Measure page.
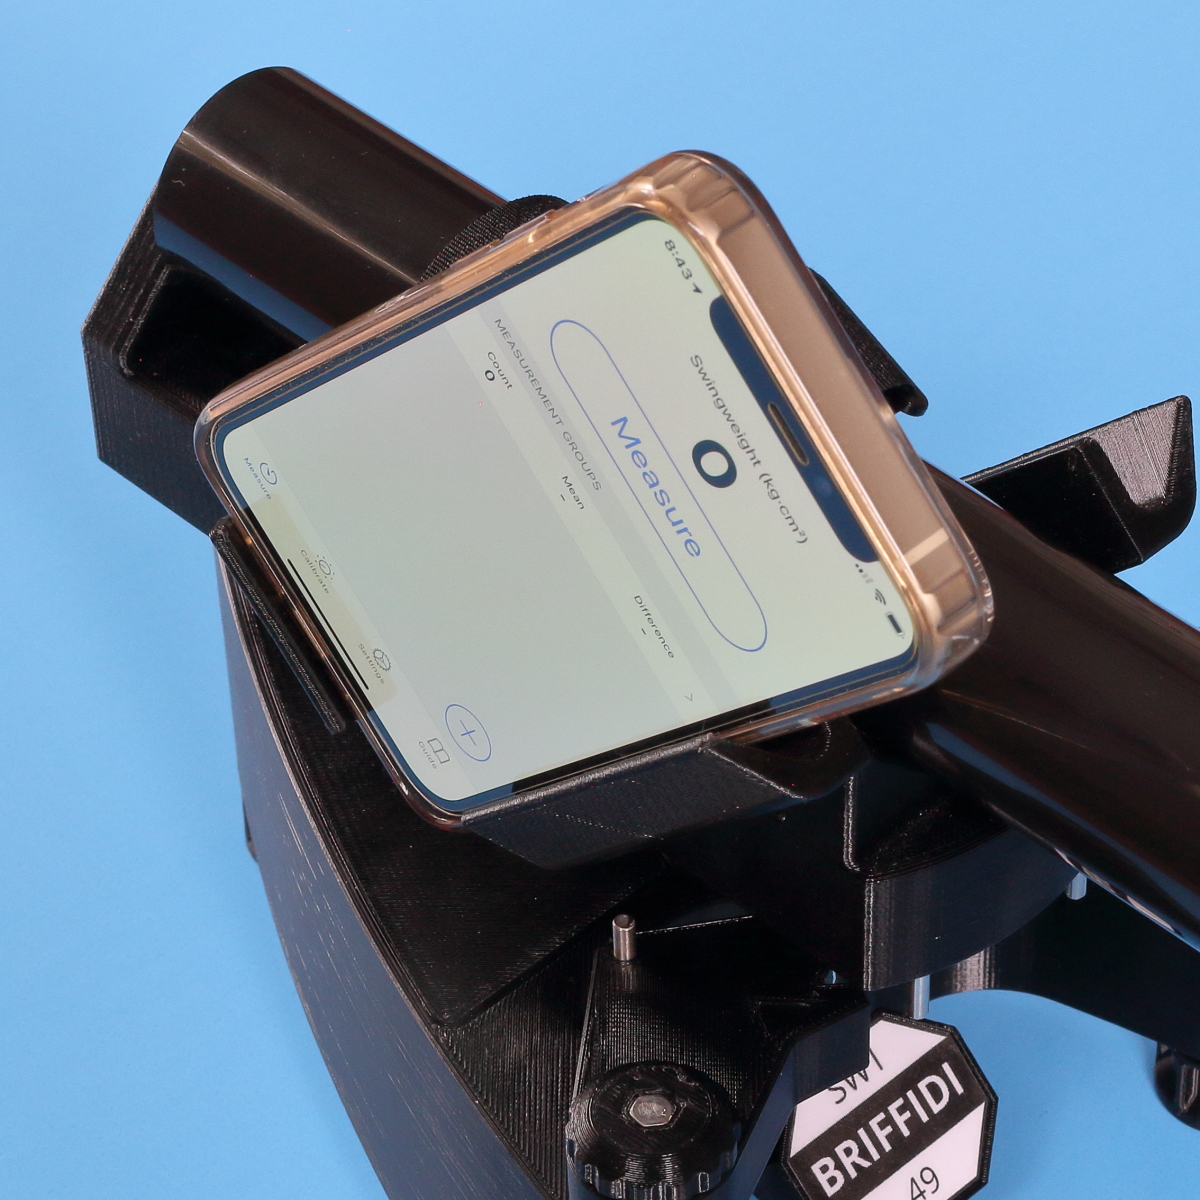
- Place the iPhone in the cradle, ensuring that it is upright and fully seated.
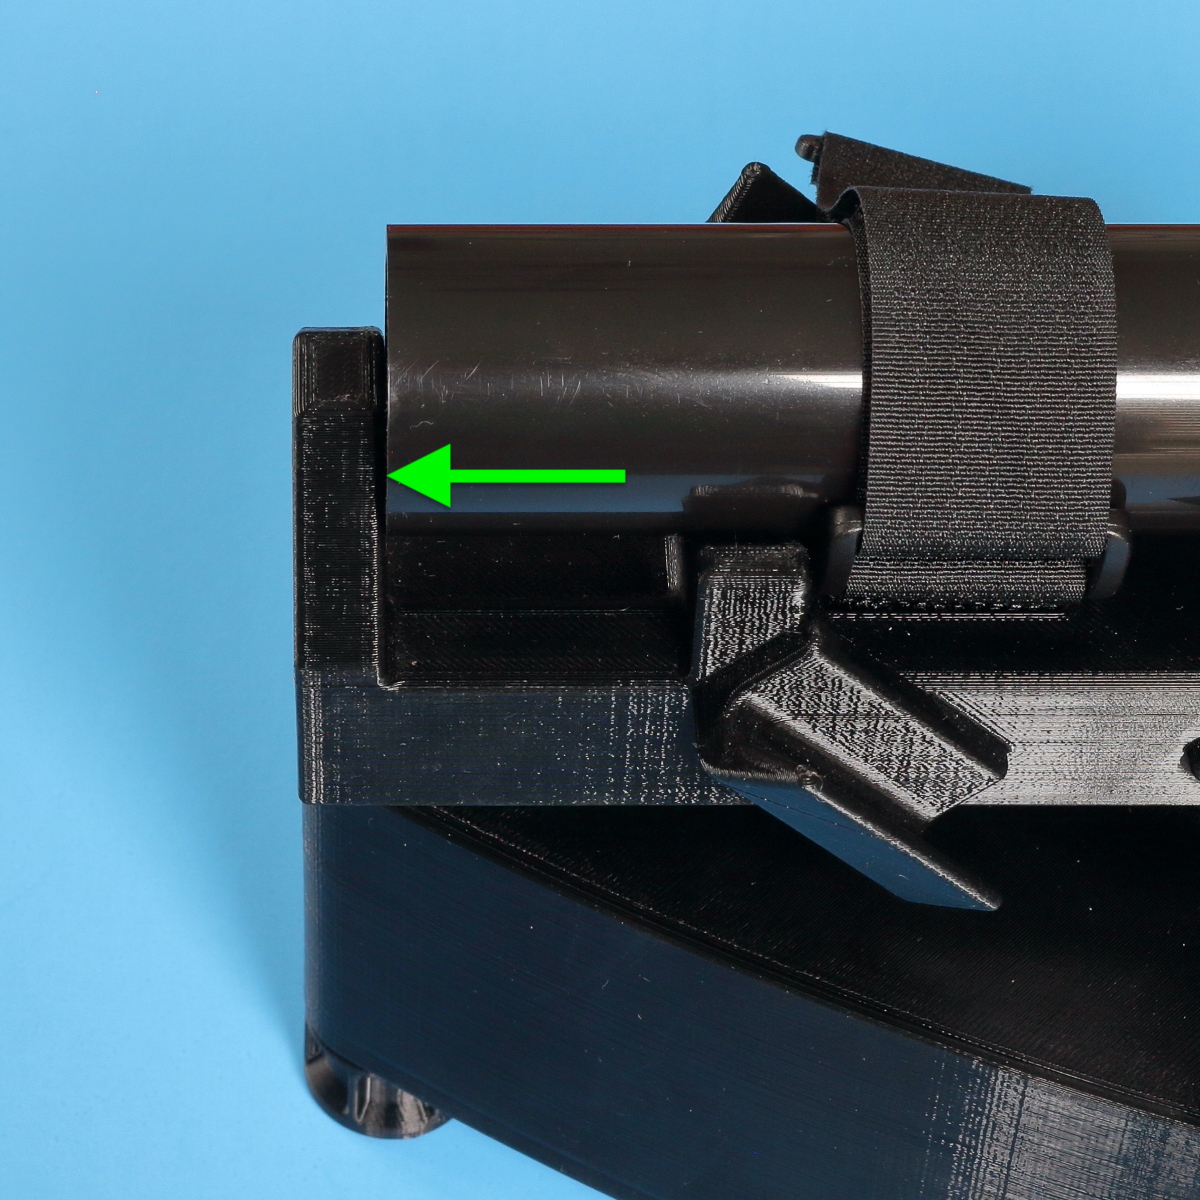
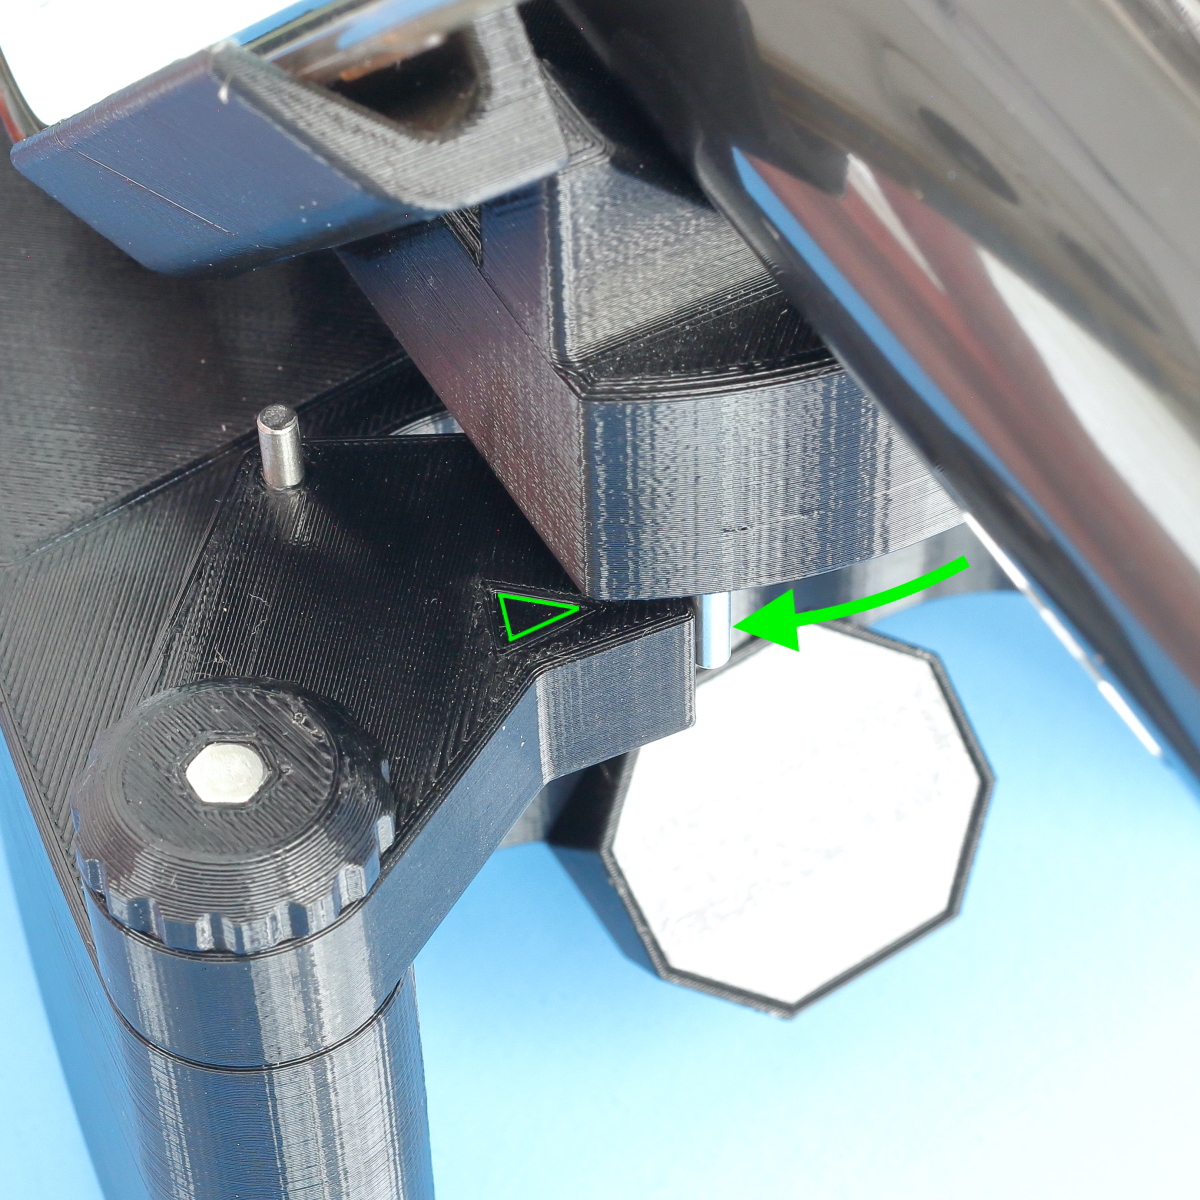
- Press and hold the cradle against the spring stop that has an indicating arrow.
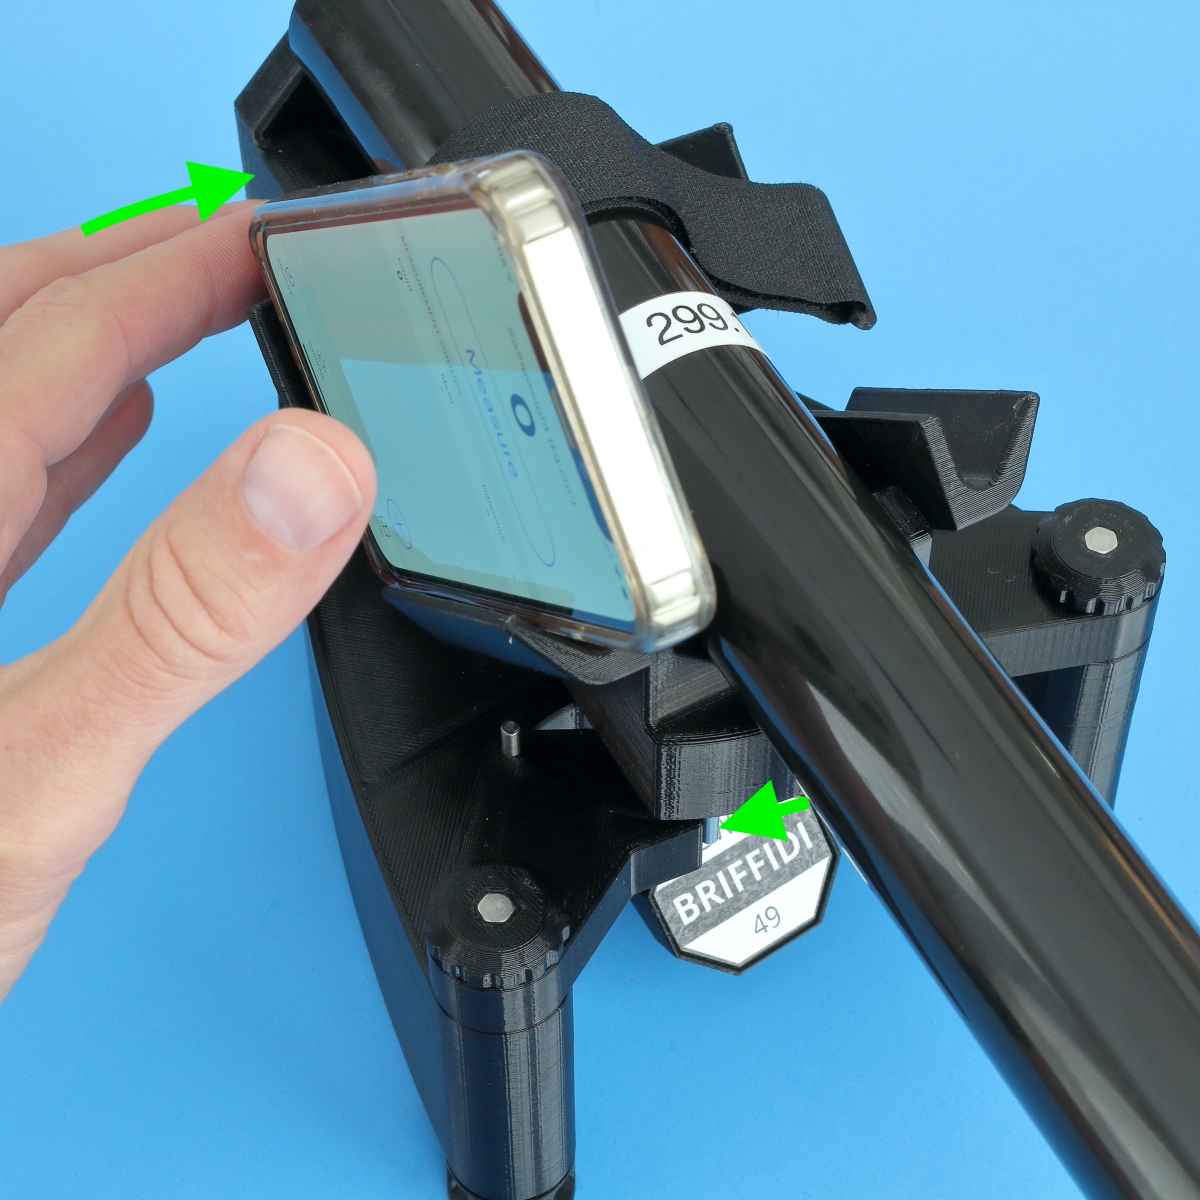
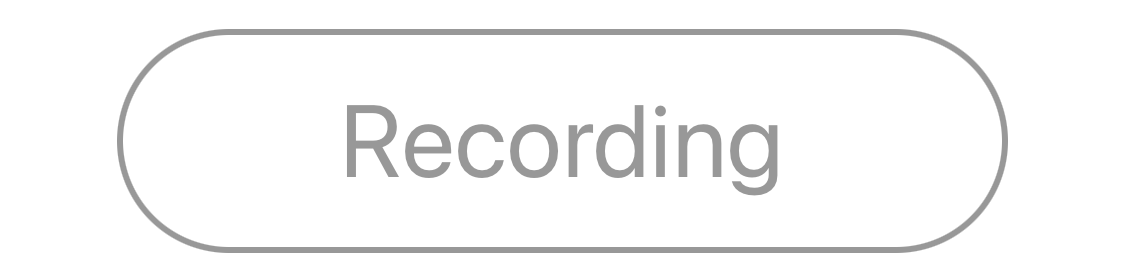
- Tap the Measure button.

- Release the cradle to record a measurement.
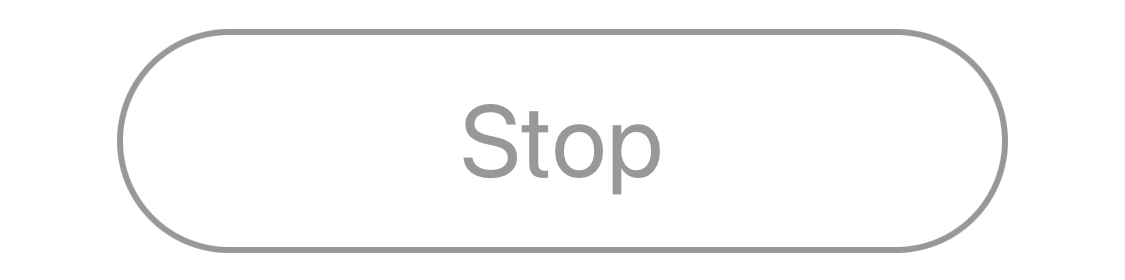
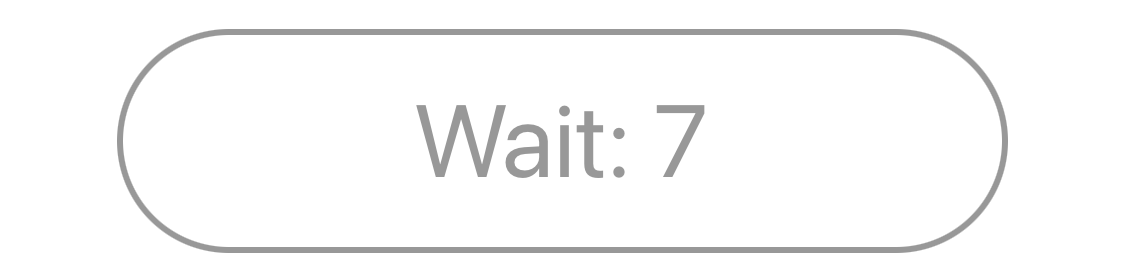
- When Stop appears in the button, stop the cradle and wait until the device is ready.
- Repeat steps 4-7 to record a second measurement.
- Slide the weight off the end of the calibration object and ensure the calibration object is still tight against the back of the cradle.
- Tap the + button to add a second measurement group.
- Repeat steps 4-7 four times to record four measurements.
- Reinstall the weight onto the end of the calibration object with the up indicator pointing up and ensure the calibration object is still tight against the back of the cradle.
- Tap the + button to add a third measurement group.
- Repeat steps 4-7 twice to record two measurements.
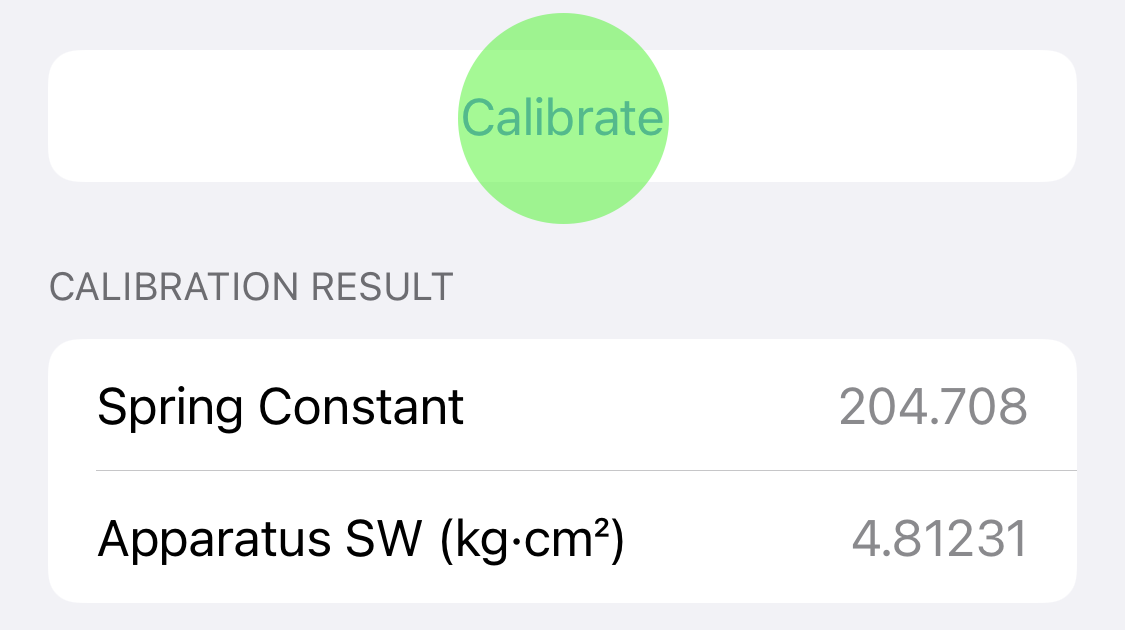
- Navigate to the Calibrate page.
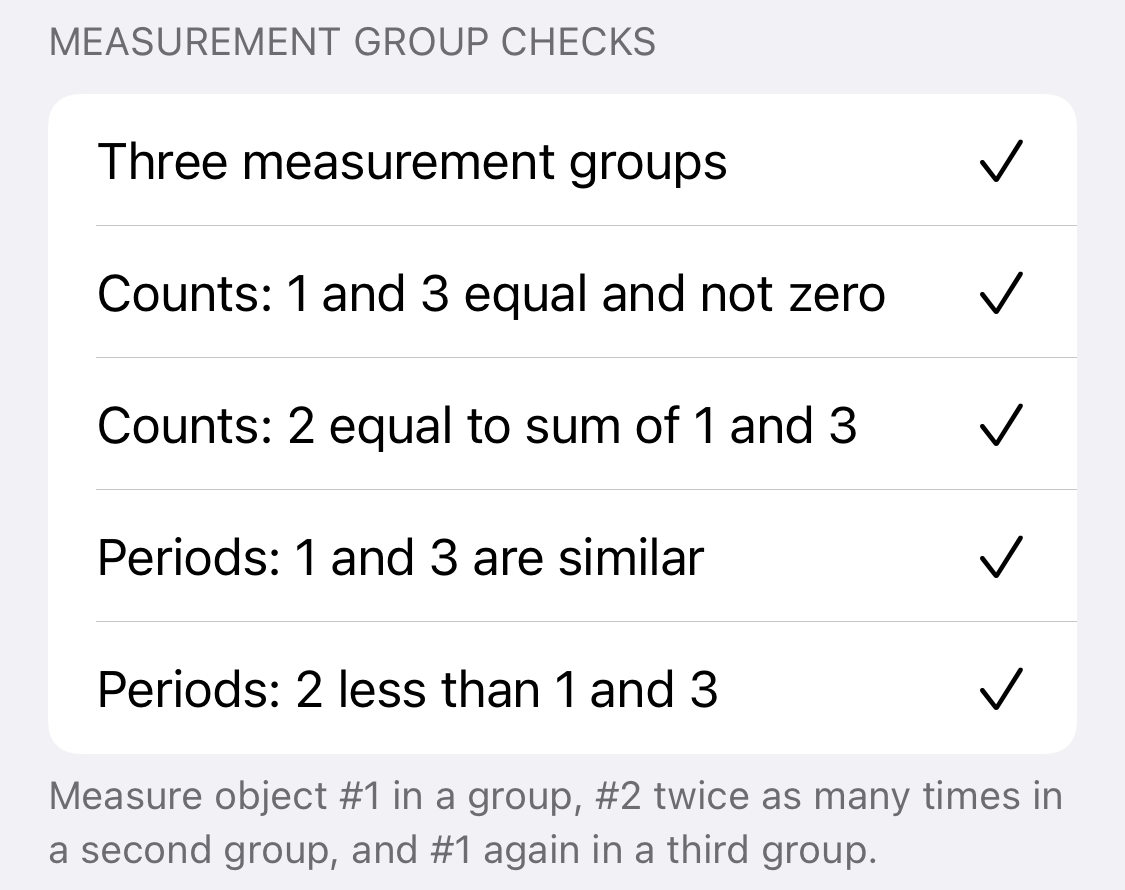
- Verify that the five calibration checks are satisfied. If not, re-measure to correct.
- Tap the Calibrate button. The calibration result below the button will update, and calibration is complete.


Measure
- To measure the swingweight of a racquet, install the handle against the rear wall of the cradle with the head perpendicular to the ground and use the same technique as used during calibration.
- To measure twistweight, see the Twistweight page.